How to Use Laser Level Without Tripod: Expert Tips and Techniques
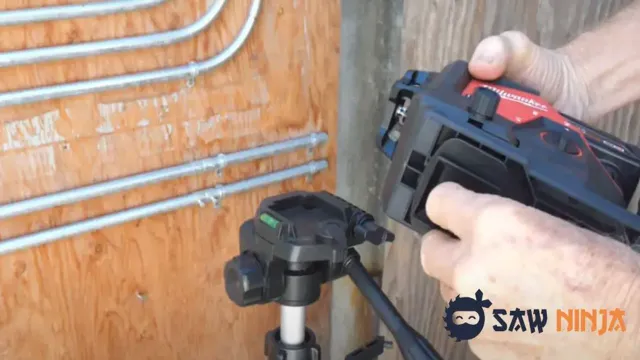
Have you ever found yourself in a tricky situation where you needed to use a laser level but didn’t have a tripod on hand? Don’t fret, because in this blog, we’re going to explore how to use a laser level without a tripod. Whether you’re a seasoned DIY enthusiast or a novice, a laser level can help you with a wide array of tasks such as hanging shelves or installing tiles. However, not everyone has access to a tripod, which can make using a laser level seem impossible.
Fear not, because with a little ingenuity and some creativity, you can use a laser level without a tripod and still achieve accurate results. In this blog, we’ll discuss some alternative methods to using a tripod, such as using a flat surface as a reference point or even creating your own DIY stand. We’ll also cover some tips on how to ensure that the laser level is properly aligned and secured without a tripod.
By the end of this blog, you’ll have a better understanding of how to use a laser level without a tripod and feel confident in tackling your next DIY project. Get ready to learn some nifty hacks that will help you achieve precise measurements without using a tripod. So let’s dive in!
Choose the Right Laser Level
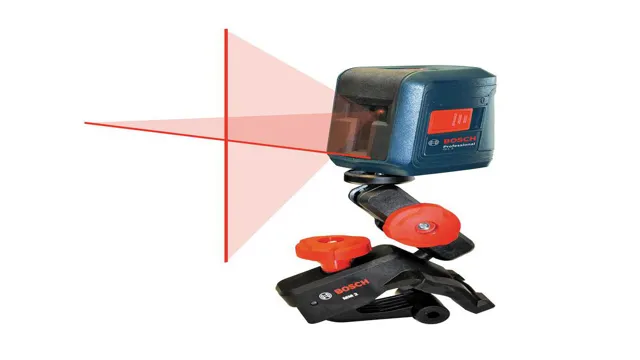
Using a laser level without a tripod can be a little tricky, but it’s certainly possible. First and foremost, it’s important to choose the right type of laser level. A self-leveling laser level, for example, is designed to automatically adjust if it’s not on a level surface.
This means you can use it without a tripod and still get accurate results. Additionally, many laser levels come with built-in magnets or suction cups, so you can attach them to walls or other surfaces. This can be helpful if you’re working on a project where a tripod isn’t feasible.
Just make sure the surface you’re attaching the laser level to is clean and flat. Keep in mind that using a laser level without a tripod may not be as precise as using one with a tripod, but it can still be a useful tool for DIY projects or smaller jobs.
Evaluate the Space
When it comes to choosing the right laser level, the first step is to evaluate the space where the device will be used. The type of laser level that you choose will depend on the size of the room, the height of the ceilings, and the layout of the space. For small rooms with low ceilings, a basic laser level that projects a single line may be sufficient.
However, if you’re working in a larger room with high ceilings or irregular walls, you may need a more advanced laser level that can project multiple lines or even a 360-degree line. It’s also important to consider the lighting conditions in the room, as some laser levels may be better equipped to deal with bright sunlight or low ambient light. By taking the time to evaluate your space and choose the right laser level, you can ensure that your projects are accurate, efficient, and completed on time.
Select a Suitable Laser Level
When selecting a laser level, it’s important to choose the right one for your specific needs. There are a wide variety of different laser levels on the market, each with its own unique set of features and capabilities. To determine which laser level is best for you, consider what types of projects you’ll be working on, as well as your budget and skill level.
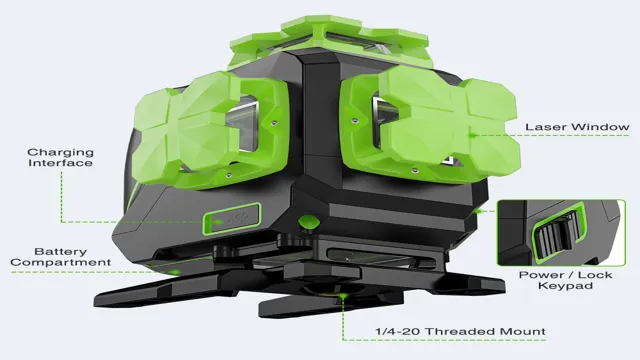
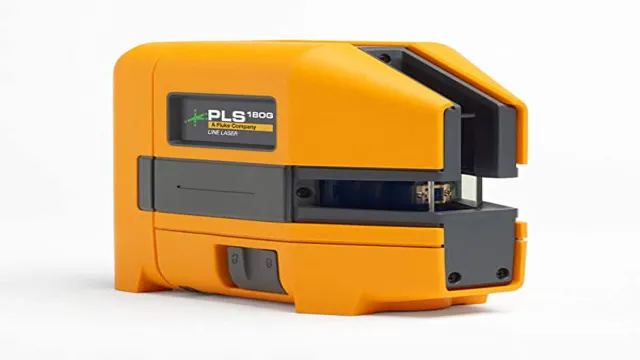
For example, if you’ll be working on a construction site, a rotary laser level may be the best choice, while a cross-line laser level is great for indoor DIY projects. Other factors to consider include the accuracy level you need, the range of the laser, and the battery life. By taking the time to research and choose the right laser level, you’ll be able to complete your projects quickly and efficiently with high precision and accuracy.
Authenticate the Level
If you’re wondering how to use a laser level without a tripod, don’t worry, it’s definitely possible. Although a tripod is generally recommended to achieve maximum stability and accuracy, there are alternative methods for using a laser level. One way is to place the laser level on a flat surface, such as a table or shelf, and adjust it until it’s level.
Another option is to use a mounting bracket or adhesive strip to attach the laser level to a wall, allowing it to remain stable and hands-free. However, it’s important to note that regardless of the method you use, it’s crucial to authenticate the level before proceeding with any project. This means double-checking that the laser level is accurate and properly aligned before beginning any measurements or markings.
By following these steps, you can successfully use a laser level without a tripod and achieve accurate results for your project.
Test on a Flat Surface
When it comes to setting up a leveled surface, it’s crucial that you authenticate the level to ensure accurate results. One great way to test if your surface is level is by placing a long, straight board or level on top of it. Start by placing the board or level in one corner of the surface and observe if it lays flat against the surface.
If there’s a gap between the board or level and the surface, it indicates that the surface is not level and requires adjustment. On the other hand, if the board or level sits flat against the surface, you can move it along the surface to confirm that the entire surface is level. This test is essential in various applications, including carpentry, construction, and DIY projects.
With accurate leveling, you can avoid costly mistakes, accidents, and ensure quality results. Don’t forget to double-check and authenticate the level before starting your project.
Verify Using a Bubble Level
When it comes to using a bubble level, it’s important to first authenticate the level itself. While many levels may look similar, not all levels are created equal. Look for a level that is certified to be accurate and reliable, and ideally one that is calibrated to an international standard.
Once you have confirmed that your level is up to par, it’s time to use it properly. Start by placing the level on a flat surface and checking that the bubble is centered between the indicators. If it is not, adjust the level until the bubble is centered, using the labeled arrows on the level as a guide.
By taking the time to verify and properly use your bubble level, you can ensure that your measurements are accurate and your projects are successful.
Use Accessories
If you’re wondering how to use a laser level without a tripod, accessories can be a game-changer. One option is to use a magnetic base to attach your laser level to a metal surface, such as a door frame or steel beam. Another option is to use a laser level stand that can be placed on any flat surface, like a table or countertop.
Additionally, you can use a laser level with a wall bracket that holds the tool securely in place while you work. However, keep in mind that these accessories may not be as stable as a tripod and could impact the accuracy of your measurements. Overall, using accessories can provide some alternatives to a tripod and allow for more flexibility in your laser level use.
Use a Leveling Base
When it comes to photography, even the slightest change in angle can make a significant difference. That is why accessories like leveling bases are essential tools for any photographer. A leveling base can help adjust the camera’s angle, ensuring that your shots are always level.
Having a level base means that your camera can maintain a steady position, reducing blur and creating sharp, high-quality images. Whether you are shooting landscapes, architecture, or portraits, leveling bases can help take your photography to the next level. They are easy to use and can make a big difference in the quality of your photos.
So if you want to improve your photography skills, invest in a leveling base, and start taking stunning photos today!
Use a Wall Bracket
If you’re looking for an easy way to declutter your space but still keep your things within reach, a wall bracket might just be the perfect solution. This handy accessory can provide a practical and stylish way to store items such as hats, bags, or even your keys. Plus, using a wall bracket can also help free up floor space and make your room feel more spacious.
One great thing about wall brackets is that they come in a variety of colors, materials, and designs to suit your personal style. So whether you’re going for a rustic, minimalist, or eclectic vibe, there’s bound to be a wall bracket that will fit your aesthetic. Don’t hesitate to explore your options and find the right wall bracket that will help you maximize your space while adding a decorative touch!
Alternative Mounting Options
If you don’t have a tripod or simply don’t want to use one, don’t worry! There are alternative mounting options for your laser level that you can consider. Firstly, you could use a ceiling mount, which is attached to the ceiling and holds your laser level in place. This option is great for when you need to level a room or a large area, as it frees up your hands to adjust the level or take measurements.
Another option is to use a magnetic mount, which attaches to any metal surface and holds your laser level in place. This is perfect for when you need to work on steel beams or other metal surfaces that a ceiling mount may not be suitable for. Lastly, you could use a wall mount, which attaches to a wall and gives you a stable platform to adjust your laser level.
Whatever mounting option you choose, you can be sure that you’ll be able to use your laser level effectively and efficiently without a tripod.
Attach to a Camera Tripod
If you’re looking for alternative mounting options for your camera, attaching it to a tripod can be a great choice. Not only does it provide stability, but it also allows for greater flexibility in terms of angles and perspectives. However, it’s important to choose the right tripod for your camera and to ensure that it’s securely attached.
One option is to use a quick-release plate, which allows you to easily attach and detach your camera from the tripod. Another option is to use a ball head, which allows for easy adjustments of your camera’s position. Ultimately, the key is to find a mounting option that works best for your specific camera and shooting needs.
With the right setup, you’ll be able to capture stunning photos and videos with ease.
Use a Magnetic Mount
If you’re looking for an alternative mounting option for your device, consider using a magnetic mount. These mounts can be easily attached to any flat surface and provide a strong hold for your device. The best part about magnetic mounts is that they come in a variety of shapes and sizes, so you can find one that fits your device perfectly.
Plus, they allow for quick and easy detachment of your device, making it easy to grab your phone on the go. Another benefit of magnetic mounts is that they don’t leave any adhesive residue or marks on your device, which can be a common problem with other types of mounts. Overall, if you want a simple, convenient, and hassle-free option for mounting your device, a magnetic mount is a great choice.
Conclusion
In conclusion, using a laser level without a tripod is like walking a tightrope without a safety net – it requires balance, precision and a touch of bravery. You’ll need a steady hand, a flat surface and some creative thinking to make it work. Whether you’re a DIY enthusiast or a seasoned pro, mastering this skill will give you a new level of confidence and independence on the job site.
So go ahead, take the leap and see how far you can go with your laser level – just don’t forget to keep your eyes on the prize and your feet firmly on the ground.”
FAQs
Can I use a laser level without a tripod?
Yes, you can use a laser level without a tripod by attaching it to a wall mount or magnetic bracket.
How do I attach the laser level to a wall mount or magnetic bracket?
Depending on the model, laser levels have different attachment options. You can either use a clamp or screw to attach the mount to the laser level, or some models have a built-in magnet.
Is it necessary to use a tripod with a laser level?
No, it is not necessary to use a tripod with a laser level. A tripod is only useful when you need to adjust the height or stability of the laser level.
What is the maximum distance a laser level can project without a tripod?
The maximum distance a laser level can project without a tripod depends on the model and the quality of the laser. Generally, a good laser level can project up to 30-50 feet without a tripod.
Which is better, a wall mount or magnetic bracket for a laser level?
This depends on your preference and the type of project you are working on. A wall mount provides more stability, while a magnetic bracket is more versatile and can easily be attached to any metal surface.
How do I ensure the accuracy of the laser level without a tripod?
To ensure the accuracy of the laser level without a tripod, make sure it is attached securely to a stable surface and use a bubble level to ensure it is leveled.
Can I use a laser level without any attachment at all?
It is possible to use a laser level without any attachment by placing it on a flat surface, but it is not recommended as it can disrupt the accuracy of the laser level.

