How to Use a Laser Level for Grading: A Step-by-Step Guide
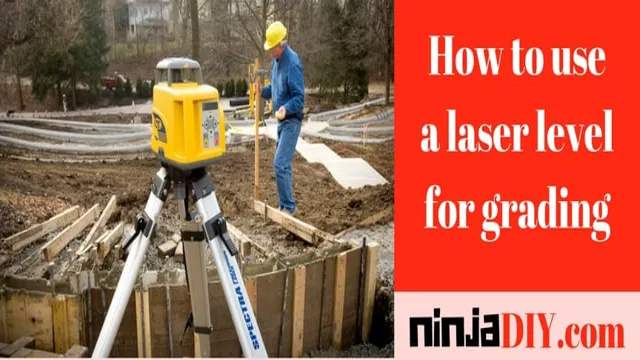
Have you ever tried to grade a surface like a patio or driveway by eye alone? It can be a frustrating, time-consuming process! Luckily, using a laser level can make grading a breeze. This tool projects a perfectly level line or plane that you can use as a reference point for grading. Whether you’re a professional landscaper or just a homeowner looking to improve their outdoor space, a laser level can save you time and frustration.
Keep reading to learn more about how to use a laser level for grading and why it’s a game-changer for outdoor projects.
What is a Laser Level?
Are you looking to grade your backyard or driveway but not sure where to start? A laser level is a great tool for accuracy and precision. But what exactly is a laser level? Simply put, a laser level projects a laser beam onto a surface to create a horizontal or vertical line, perfect for measuring and leveling. It’s an easy-to-use tool that makes your grading project a breeze.
To use a laser level for grading, start by setting it up on a tripod or mounting it to a wall or post. Then, turn on the laser, and align the line with the level you want to achieve. From there, it’s just a matter of following the line and being mindful of any slopes or variations in the terrain.
With a laser level, you’ll be able to get professional-looking results with minimal effort. Give it a try on your next grading project!
Explanation of laser level and its uses in grading
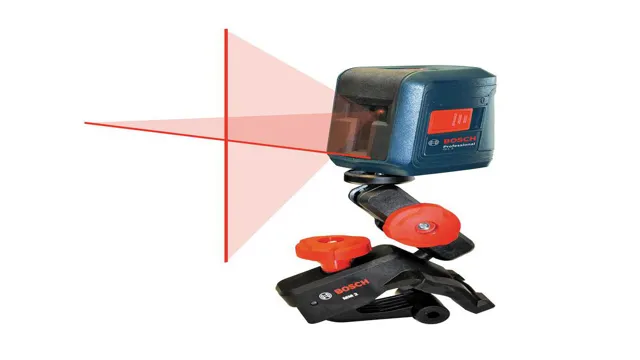
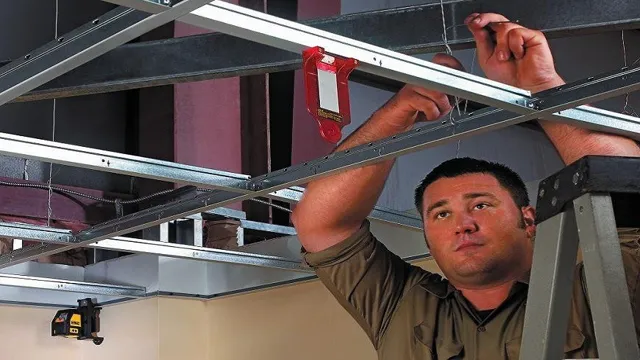
A laser level is a precision tool that emits a concentrated beam of light to project a level line or dot on a surface. It is used in construction and grading to ensure that structures and surfaces are level and evenly sloped. The laser level has a range of uses, such as installing cabinets, drop ceilings, laying tiles, and grading land.
It works by projecting a beam of light onto a surface, and a sensor will receive the light, making it the tool’s accuracy greater than a bubble level. Also, the laser level can project both horizontal and vertical lines, making it ideal for various grading applications. Contractors and landscapers can use the laser level to grade land by setting the level at specific gradients or slopes to achieve grading accuracy.
Overall, laser levels are a valuable tool for precision grading as they not only save time and money but also produce a level and accurate result.
Preparations for Using a Laser Level for Grading
Grading a surface is much easier when you have a laser level. But before you start, there are a few things you need to do. First, make sure your laser level is working correctly and has sufficient battery life.
Next, mark the starting and ending points of the grading line with stakes. This line will be the reference point for your laser level. Then, secure the laser level onto a tripod and position it to align with the grading line.
If necessary, adjust the tripod legs to make sure the laser level is level. Finally, turn on the laser level and adjust the height until the laser beam hits the reference points. Once everything is prepared, you’re ready to start grading.
Using a laser level for grading ensures that you have a level and even surface, saving you time and effort from using traditional methods like a spirit level.
Selecting the right laser level and preparing the grading area
Preparation for using a laser level for grading is crucial to ensure a smooth and accurate job. The first step in using a laser level is to ensure you select the right type for the job at hand. There are various laser levels available, each with its own capabilities and features.
Some are suitable for indoor use, while others are designed for outdoor use, with a stronger beam for longer distances. Once you have the right laser level, it’s time to prepare the grading area. This involves ensuring that the area is clean, clear, and level.
Remove any debris, rocks, or other obstructions that could affect the accuracy of the laser level, and smooth out the surface as much as possible. It’s also essential to ensure that there are no variations in the elevation of the land, as even a slight variation can impact the accuracy of the laser level. Once these preparations are complete, you are ready to begin using your laser level for the grading job at hand.
Remember to follow the manufacturer’s instructions carefully to ensure accurate results.
Using a Laser Level for Grading
If you’re wondering how to use a laser level for grading, you’ve come to the right place! A laser level is a great tool to ensure your grading project is done accurately and efficiently. First, you’ll want to set up the laser level on a tripod at the starting point of your grading project. Then, use the laser level to mark a line at the desired height of the finished grade.
From there, you can use a measuring tape to mark points along the line at the same height. As you grade the area, you can use these points as guides to ensure the slope stays consistent with the desired grade. The laser level can also be used to check the grade of the soil as you go, ensuring accuracy throughout the entire project.
Using a laser level for grading may take a bit of practice, but it’s a great way to save time and ensure a professional quality outcome.
Step by step guide on how to use a laser level for grading
If you’re looking to grade your property or create an even foundation for your construction project, a laser level can be an incredibly useful tool. The first step is to ensure that your laser level is in good working order and calibrated correctly. Next, you’ll need to set up your laser level on a stable surface at the appropriate level.
This will give you a reference point to measure from. Then you’ll need to set up your measuring tool, whether it be a rod or a tape measure. From there, you can begin to take measurements and adjust the grading as necessary.
It’s important to make small adjustments and recheck your measurements frequently to ensure accuracy. Finally, when you’re happy with the grading, you can use the laser level to mark the area where you’ll be laying your foundation or starting your construction project. With a little practice, using a laser level for grading can be a straightforward and effective process.
Tips and Tricks for Using a Laser Level for Grading
If you’re looking to level your backyard or grade a construction site, a laser level can be a useful tool. To get started, first, ensure that your laser level is calibrated correctly. Once you’ve done this, set your laser level up on a tripod and turn it on.
Position it at one end of the area you’re grading, and point it towards the other end. The laser should create a straight line that will indicate the level of the ground. To begin grading, use a rake or a shovel to move earth away from the high spots towards the low ones, creating a slope.
Keep checking the laser level along the way to ensure that your slope is even and that you’re not taking too much earth away from one area. Once you’re happy with the degree of slope, use a compactor or tamper to firm up the soil. Using a laser level for grading can be tricky at first, but with a bit of practice, it can save you time and effort while producing great results.
Recommendations for accurate grading and avoiding common mistakes
“laser level for grading” If you want to get accurate results when grading using a laser level, there are some tips and tricks you need to employ. First, it’s essential to ensure that your laser level is set up correctly. Follow the manufacturer’s instructions to the letter, and don’t try to take shortcuts – this will only lead to errors down the line.
Second, make sure that you always take multiple measurements from various angles. This will help you to get a more comprehensive understanding of the terrain you’re working on and reduce the risk of inaccuracies creeping into your grading. Finally, pay attention to the calibration of your laser level.
Even small deviations can result in significant mistakes, so it’s worth checking the calibration frequently. By following these tips and tricks, you can ensure that you get accurate results every time you grade using a laser level!
Conclusion
Grading can be a tricky business, especially when you’re working with uneven terrain. But fear not, for the laser level is here to save the day! With its precise and accurate beams, this tool is your key to achieving the perfect grade every time. Just follow these simple steps: set up your laser level, establish your target height, adjust the height of your grading equipment accordingly, and then get to work.
Whether you’re grading for a landscaping project or preparing a site for construction, the laser level will ensure that your finished product is level and ready for action. So go ahead, embrace the power of the laser level and take your grading game to the next level!”
Summary of key points for using a laser level for grading
A laser level is a very useful tool for grading, as it allows you to create a level surface by projecting a straight and horizontal beam of light. To use a laser level for grading, you first need to set up the level at the desired height and position. Then, you can move the level around the area to create a level line or plane across the surface.
One important tip is to ensure that the level is properly calibrated and leveled before use, as any deviation from true level will result in inaccurate grading. Another tip is to use a receiver to detect the laser beam, as this will allow you to work over longer distances or in bright sunlight. Finally, it is important to keep the laser level protected from dust, moisture, and other contaminants to ensure its longevity.
By following these tips and tricks, you can use a laser level effectively for grading and achieve professional-looking results.
FAQs
What is a laser level and how does it work for grading?
A laser level is a tool that emits a laser beam to provide an accurate reference point to measure elevations and slopes for grading. It works by projecting a laser beam onto a surface to create a straight line.
Can a laser level be used for both indoor and outdoor grading?
Yes, laser levels can be used for both indoor and outdoor grading. However, certain laser level models may be specifically designed for either indoor or outdoor use.
What are the benefits of using a laser level for grading?
Benefits of using a laser level for grading include increased accuracy, consistency, and efficiency in measuring elevations and slopes. They also reduce the risk of errors and costly rework.
Do laser levels require any special training or expertise to use for grading?
While laser levels are generally user-friendly and intuitive, some basic knowledge of grading techniques and equipment is necessary to achieve accurate results. It is always advisable to read the instructions manual thoroughly before using a laser level.
Are there any safety considerations when using a laser level for grading?
Yes, laser levels emit potentially harmful laser beams that can cause eye damage. Always wear protective eyewear when using a laser level, and avoid pointing it directly at anyone’s eyes.
Can laser levels be used with other grading equipment?
Yes, laser levels can be used with other grading equipment such as bulldozers, scrapers, and graders. They provide greater precision and accuracy when used in conjunction with these tools.
What are the different types of laser levels that can be used for grading?
The different types of laser levels include rotary laser levels, line laser levels, dot laser levels, and laser plumb bobs. Each has its own unique features and benefits for grading and other construction-related activities.

