How to Use Laser Level on Ceiling: A Beginner’s Guide for Accurate Results
If you’re trying to hang something on your ceiling, like a chandelier or a ceiling fan, you’re likely dealing with a tricky task. How do you make sure the object hangs straight and level? A laser level can be a lifesaver in this situation. It projects a laser beam that travels across the ceiling, allowing you to see exactly where your hanging object will line up.
In this blog post, we’ll dive into the details on using a laser level on a ceiling, including tips and tricks to help you get the job done right. Whether you’re a seasoned DIYer or a novice, we’ve got you covered. Keep reading to learn more!
Choosing the Right Laser Level
If you’re planning to install lights or fixtures on your ceiling, using a laser level can help ensure they’re perfectly aligned. To use a laser level on the ceiling, first, choose the right laser level. Consider the type of work you’ll be doing and the distance you’ll need to cover.
If you’re working on a large room, a rotary laser level might be a better choice than a dot laser level. Once you have the right equipment, find a stable surface where you can place your laser level, and turn it on. Then, point the laser towards the ceiling, and adjust the height and angle until the laser line is hitting the exact spot on the ceiling where you want your fixtures or lights to go.
Once you have ensured that the line is perfectly aligned, you can start your installation with confidence knowing that you are off to a precise start and that your end result will look great thanks to your laser level.
Considerations for Ceiling Projects
When it comes to ceiling projects, choosing the right laser level can make all the difference. A laser level is an essential tool that helps you get accurate and level lines for your ceiling work. It makes your job much easier and gives you a professional-looking finish.
But with so many options available in the market, how do you choose the right one? Firstly, consider the type of project you’re working on. If you’re doing a large-scale job, you may need a laser level with a longer range and higher accuracy. Secondly, think about the features you need.
Do you need a self-leveling laser level or one that can project lines at different angles? Lastly, take into account your budget and find a laser level that fits within your financial constraints. By keeping all these factors in mind, you can find the perfect laser level to get the job done right.
Types of Laser Levels
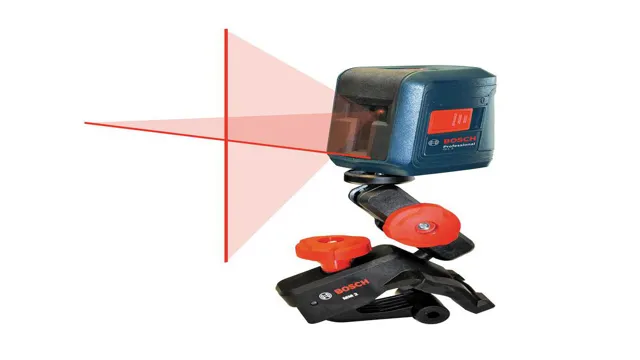
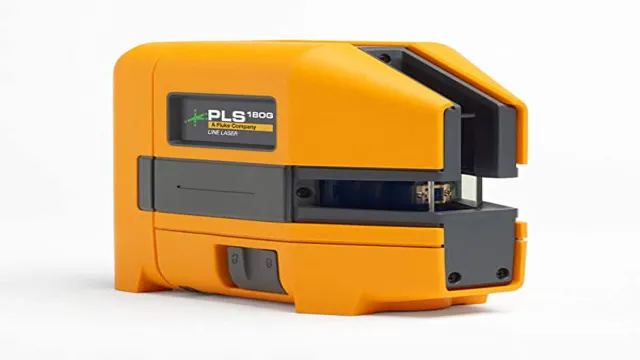
When it comes to choosing the right laser level, there are a few different types to consider. First, there’s the dot laser level, which projects a single point of light onto a surface and is great for tasks like hanging pictures or installing ceiling tiles. Next, there’s the line laser level, which projects a straight line onto a surface and is helpful for tasks like laying tile or installing cabinets.
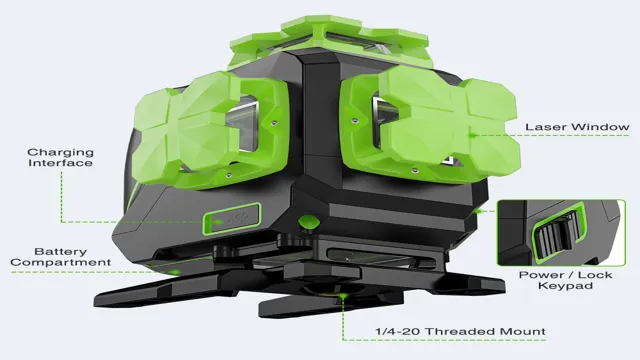
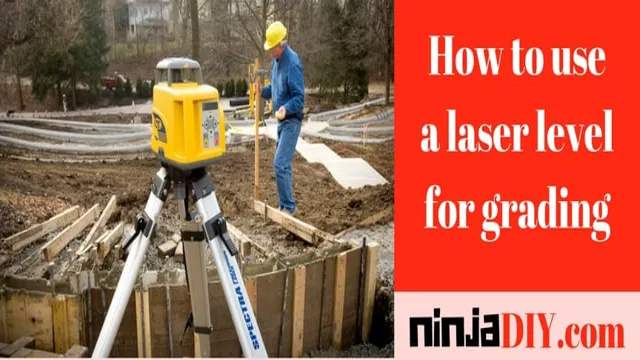
If you need more precision, a rotary laser level is a good choice. This type of level spins 360 degrees and creates a continuous line around a room or workspace. Lastly, if you need to work outdoors or in bright, sunny conditions, a green beam laser level will be more visible than a red beam.
Keep in mind your specific needs and the environment in which you’ll be working when choosing the right laser level for your project.
Preparing Your Work Area
Before you start using a laser level on the ceiling, it’s important to prepare your work area first. Make sure that the room is free from clutter and that any furniture or accessories are safely moved out of the way. It’s also a good idea to cover and protect any floors or surfaces that could potentially be damaged during the process.
Once you’ve cleared the area, take some time to familiarize yourself with your laser level and its instruction manual. Check the batteries and ensure that it’s functioning properly. You should then mark your ceiling for the placement of your laser level based on the alignment you require.
After this, you can finally mount your laser level and turn it on. With your laser level properly mounted, you’re now ready to start your project with confidence. Remember, using a laser level allows for precision accuracy in your project, so take the needed prep time to ensure everything goes smoothly.
Clearing the Ceiling Space
When it comes to preparing your work area for clearing the ceiling space, there are a few important steps to keep in mind. First and foremost, it’s essential to ensure that the area is free of any clutter or obstacles. This will not only make it easier to access the ceiling, but it will also help to reduce the risk of accidents or injuries.
Additionally, it’s a good idea to cover any furniture or flooring with protective sheeting to prevent damage from falling debris or dust. Another important consideration is to make sure that you have the proper tools and equipment on hand, such as a sturdy ladder or scaffolding system, as well as safety gear like gloves and goggles. By taking these steps to prepare your work area, you can ensure that your ceiling clearing project will be safe, efficient, and successful.
Setting Up the Laser Level
Before you start setting up the laser level, it’s important to prepare your work area. This will ensure that you have a clear and safe space for working with the laser level. Begin by clearing the area of any obstacles that may get in the way or interfere with the laser beam.
This includes furniture, debris, and any other objects that may obstruct the laser. You’ll also want to ensure that the surface you’ll be working on is level and clean. Any bumps or unevenness in the surface can affect the accuracy of the laser level, so be sure to smooth out any imperfections.
By taking the time to properly prepare your work area, you’ll be able to use the laser level with confidence and accuracy.
Using the Laser Level on the Ceiling
If you’re wondering how to use a laser level on the ceiling, don’t worry – it’s easier than you might think! First, make sure your laser level has a ceiling mode setting, which will ensure the laser beam projects straight down instead of at an angle. Next, position your laser level at the desired height and turn it on. The laser beam should create a straight, level line across the ceiling.
You can then use this line as a reference point for hanging pictures, installing lighting fixtures, or any other ceiling project you have in mind. Just remember to double-check the accuracy of the laser level before starting your project, and to take proper safety precautions when using any tools on a ladder or elevated surface. With a little practice, you’ll be using your laser level on the ceiling like a pro in no time!
Locating the Laser Level Lines
When it comes to using a laser level on the ceiling, locating the laser level lines may seem like a daunting task. However, with a few tips and tricks, you can make the process a lot easier. Firstly, you should position yourself in the center of the room and turn on the laser level.
Next, look for the laser lines on the ceiling and mark them using a pencil or masking tape. It’s important to ensure that the lines are level to avoid any discrepancies in your project. You can use a bubble level to check if the lines are perfectly level or not.
Another useful tip is to use a flashlight or headlamp to illuminate the laser lines, making them more visible. With these simple methods, locating the laser level lines on the ceiling shouldn’t be too difficult, and you can get started on your project in no time.
Marking the Reference Points
When it comes to installing a ceiling, accuracy is key. Using a laser level to mark your reference points is a great way to ensure that your ceiling is level and straight. A laser level projects a beam of light that can be used to mark out a level line on your ceiling.
The laser level can be set up on a tripod or attached to the ceiling with a bracket. Once it is in place, you can mark your reference points on the ceiling using a pencil or chalk. It’s important to make sure that your reference points are evenly spaced and that they are at the correct height.
With the help of a laser level, you can ensure that your ceiling is straight and level, giving your room a professional finish.
Double-Checking for Accuracy
When it comes to home improvement projects like installing new ceiling fixtures or painting, it’s important to double-check for accuracy. One tool that can make this task easier is a laser level. Using a laser level on the ceiling ensures that everything is straight and level.
It projects a beam of laser light that can be moved around the room to create lines where fixtures, hooks, or other items need to be placed. The laser level can be adjusted to different angles and heights, ensuring that everything is exactly where it needs to be. Using a laser level not only saves time and frustration but also creates a professional-looking finish.
So next time you’re tackling a ceiling project, consider using a laser level for accurate, precise results.
Safety Tips for Working with a Laser Level
If you’re looking to use a laser level on a ceiling, the first thing you should do is ensure that it is safely secured to a stable surface. This will prevent it from falling while in use and causing any damage or harm. Additionally, always wear protective eyewear to protect your eyes from any laser beams.
Make sure the device is calibrated correctly and is level before starting. Place the device against the wall, facing upwards towards the ceiling. Remember to turn off the laser beam when adjusting the height or position of the device to avoid any accidents.
Always follow the manufacturer’s instructions carefully and when not in use, store your laser level in a safe place. With these safety tips in mind, using a laser level on a ceiling should be a breeze.
Conclusion
In summary, using a laser level on a ceiling can be simple and efficient if you follow a few key steps. First, make sure your device is calibrated and securely mounted to the surface. Next, choose your desired height and angle for your laser line, and mark your preferred locations on the ceiling.
Then, simply turn on the laser and watch it beautifully illuminate your space with perfect alignment. Just remember to take breaks to look up from time to time, otherwise you might find yourself mesmerized by the hypnotic glow. Now go out there and level up your ceiling game, because DIY has never been easier!”
FAQs
What is a laser level?
A laser level is a tool that projects a laser beam to create a perfectly level line on a surface.
Can a laser level be used on a ceiling?
Yes, a laser level can be used on a ceiling to create a perfectly level line for installing ceiling fixtures or for other purposes.
How do you set up a laser level on a ceiling?
To set up a laser level on a ceiling, you need to attach the laser level to a tripod or mounting bracket, position it in the desired location, and turn it on to project the laser beam onto the ceiling.
How do you ensure the laser level is perfectly level on the ceiling?
You can ensure the laser level is perfectly level on the ceiling by adjusting the tripod or mounting bracket until the laser beam projects a perfectly level line on the ceiling.
Can a laser level be used for more than just leveling ceilings?
Yes, a laser level can be used for a variety of purposes, including hanging shelves, aligning tiles or pictures, and installing cabinets or doors.
Is a laser level easy to use for beginners?
Yes, a laser level is relatively easy to use for beginners, as long as you follow the instructions and take the time to set it up properly.
Are laser levels accurate?
Yes, laser levels are very accurate, with some models able to project a perfectly level line within 1/8 inch over 30 feet.

