How to Rebuild an Air Ratchet: Step-by-Step Guide for DIY Enthusiasts
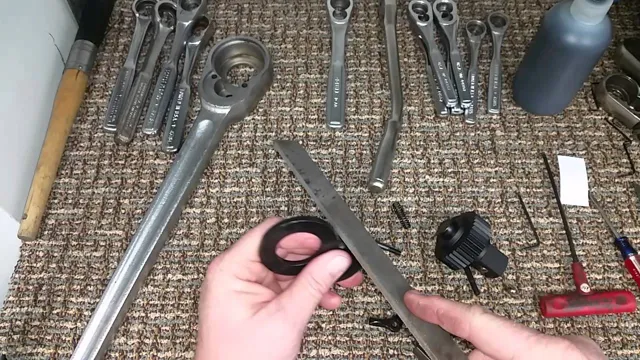
Do you have a broken air ratchet that needs fixing? Rebuilding an air ratchet might sound like a daunting task, but it’s actually quite straightforward. An air ratchet is a common tool found in most automotive shops, and it’s an essential tool for mechanics. It’s responsible for speeding up and simplifying bolt torqueing, which is especially useful for working in tight spaces.
Don’t worry if you haven’t done this before! In this blog post, we’ll guide you through the process of rebuilding an air ratchet step-by-step. By the end of this post, you’ll have all the knowledge and tools you need to fix your air ratchet and get back to work. But before we get into the process, let’s understand what an air ratchet is and how it works.
An air ratchet is a pneumatic tool that uses compressed air to turn a socket, allowing you to tighten and loosen bolts quickly and with precision. With regular use, exposure to dirt, dust, and debris, your air ratchet can wear out and lose its function over time. Therefore, it’s essential to know how to maintain and repair your tool to avoid a hefty repair bill or a replacement.
So, let’s get started with the guide on how to rebuild an air ratchet! But first, let’s gather the essential tools you’ll need to complete this task.
Introduction
If you own an air ratchet, it’s important to learn how to rebuild it. This tool is a valuable asset for any mechanic or DIY enthusiast, but it can wear down over time due to frequent use. Luckily, the process to rebuild an air ratchet isn’t too complicated and can save you money in the long run.
First, you’ll need to disassemble the ratchet and clean any dirt or debris that may have accumulated inside. Then, replace any worn or damaged parts such as the o-rings, seals, or bearings. Lastly, lubricate the ratchet with oil and reassemble the tool.
By following these simple steps, you’ll be able to extend the life of your air ratchet and keep it running smoothly for years to come. So don’t hesitate to give it a shot!
What is an Air Ratchet?
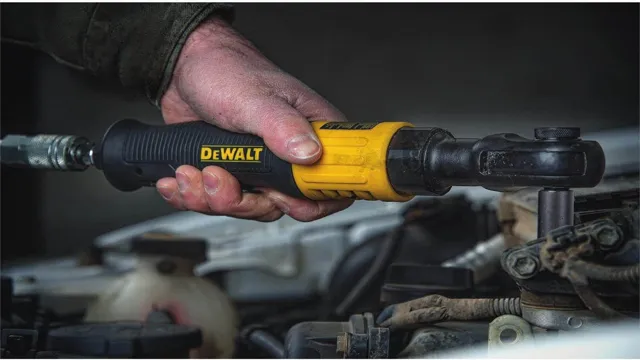
An air ratchet is a nifty tool that can make all the difference when it comes to tackling mechanical tasks. This instrument operates through pneumatic power, which, in simple terms, means it uses compressed air to produce rotational force. The tool is designed to apply torque or loosen bolts and nuts, giving you the upper hand in mechanical repairs or maintenance.
Its adaptability is worthy of mention, as it provides a great improvement over the manual ratchet wrench. With an air ratchet, you can expect to save time and effort on any job you tackle, no matter how challenging it may seem. So if you are looking for a more efficient and effective way to tighten or loosen bolts and nuts, then an air ratchet is a great tool to have in your arsenal.
Why Do You Need to Rebuild It?
If you have an old or outdated website, you may be wondering why you need to rebuild it. There are many reasons why rebuilding a website is important, including improving the user experience, enhancing functionality, and implementing new features. Additionally, a website that has not been updated in a while may not be optimized for search engines, which can impact your search engine rankings and make your site harder to find.
By investing in rebuilding your website, you can ensure that your online presence is up-to-date, visually appealing, and easy to use for your customers. Plus, with today’s technology, there are many new tools and platforms available that can make building a new website easier and more cost-effective than ever before. Whether you’re looking to update your current site or start from scratch, rebuilding your website is an essential component of your digital marketing strategy.
Tools and Equipment
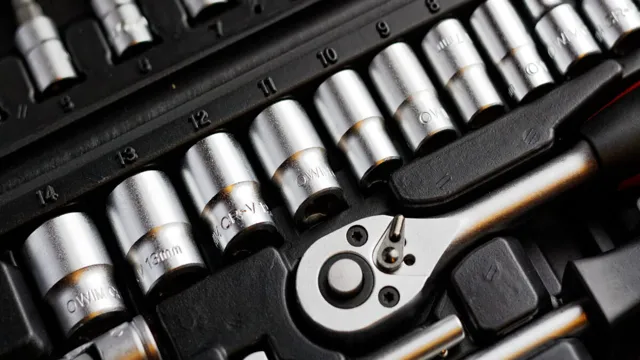
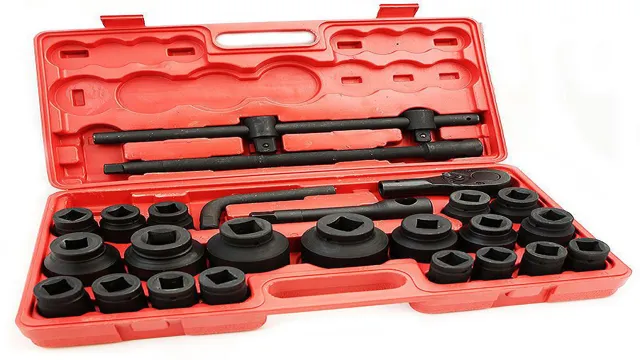
If you find yourself dealing with a worn-out air ratchet, you’ll be glad to know that rebuilding the tool is much easier than you might think. To begin the process of rebuilding your air ratchet, you’ll need a set of basic tools, including a socket wrench set, rubber mallet, and small jar of grease. Once you’ve gathered your tools, start by removing the air ratchet’s casing by unscrewing the screws at the base of the ratchet’s head.
Carefully remove the tool’s inner workings, taking note of their position and orientation as you go. After cleaning all parts thoroughly, grease each piece, being sure to apply a liberal amount to the moving components. Once the grease is applied, carefully reassemble the tool, taking care to ensure that all pieces are in the correct position and orientation.
Once reassembled, test the ratchet to ensure that it moves freely and functions smoothly. With a little elbow grease and the right tools, you’ll have your air ratchet running like new in no time.
Required Tools
When it comes to any DIY project, having the right tools and equipment is crucial for success. For those planning to tackle a project like building a bookshelf or repairing a fence, some basic tools are essential. A hammer, screwdriver set, tape measure, level, and drill are some of the basics to have on hand.
Other important items that may be required for certain projects include a saw, welding equipment, and safety gear such as gloves and eye protection. While some tools may be expensive, investing in quality equipment is worth it in the long run as it will last longer and perform better. When starting a new project, always make sure to evaluate what tools and equipment are needed and gather them before beginning.
This will save time and ensure that the project is completed safely and efficiently.
Safety Equipment
When it comes to working on a construction site or doing any kind of manual labor, it is crucial to have the proper safety equipment. The tools and equipment you use also fall under this category, as they need to be in good working condition and the appropriate size or power for the job at hand. Hard hats, safety glasses, gloves, and work boots are just a few examples of safety equipment that can protect you from potentially life-threatening injuries.
It is important to invest in quality equipment that has been certified by safety organizations to ensure that you are fully protected. While it may seem like an unnecessary cost, safety should always come first and the investment is worth it in the long run. Remember, your health and well-being is not something to compromise on.
Steps to Rebuild an Air Ratchet
Air ratchets are useful tools that are employed in various mechanical repairs. However, like any other tool, they require maintenance and repair over time. One option to consider is rebuilding an air ratchet, which can be a cost-effective way to extend the lifespan of your tool.
The process begins by disassembling the ratchet and cleaning the individual components. After cleaning, each part should be carefully inspected to determine if it needs replacement. Commonly replaced parts include O-rings, springs, and bearings.
After replacing any necessary parts, the ratchet should be reassembled and tested for functionality. Be sure to use a manufacturer-approved kit for rebuilding the ratchet, and refer to its manual or online tutorials for detailed instructions. Overall, rebuilding an air ratchet is a DIY task that requires some knowledge of tool mechanics, but it can save you money and extend the life of your tool.
Step 1: Disassemble the Ratchet
Air ratchets are an essential tool in any mechanic’s arsenal. Over time, like any other tool, it may start malfunctioning. Fortunately, rebuilding an air ratchet is not as challenging as it seems.
The first step in this process is to disassemble the ratchet. Remove the retaining ring on the front of the ratchet by using a pair of pliers or a retaining ring removal tool. Once removed, take off the anvil, and the o-ring and spring that sit behind it.
You can then remove the ratchet’s pins and gears. Giving the parts a thorough cleaning is highly recommended to ensure that each piece is working correctly. The gears should also be examined for any signs of wear and tear, and if needed, replaced with new ones.
Completing these straightforward steps will set you up for the next leg of the ratchet rebuilding process.
Step 2: Inspect and Clean Parts
When rebuilding an air ratchet, the second step is to inspect and clean all the parts. This is a crucial step that shouldn’t be skipped, as it can help identify any damage or wear on the parts that would affect their performance. Start by removing the motor assembly and disassembling it completely.
Inspect each part closely for cracks, breaks, or any other damage. If any of the parts are damaged, they should be replaced immediately. Next, clean all the parts thoroughly with a degreaser or parts cleaner and a small parts brush.
Pay special attention to the hard-to-reach areas, such as the interior of the motor assembly and the gear teeth. Any debris or dirt left behind can cause the ratchet to malfunction or fail altogether. Once the parts are cleaned, dry them thoroughly and make sure they’re free of any leftover moisture.
By taking the time to inspect and clean each part of the air ratchet, you’ll ensure it functions properly and safely for years to come.
Step 3: Replace Worn Out Parts
Now that you’ve disassembled and cleaned your air ratchet, it’s time to replace any worn out parts before putting it all back together. This step is crucial if you want your ratchet to work like new again. Make sure to check the condition of the gaskets, O-rings, and seals as they’re prone to wear and tear and could be the source of leaks.
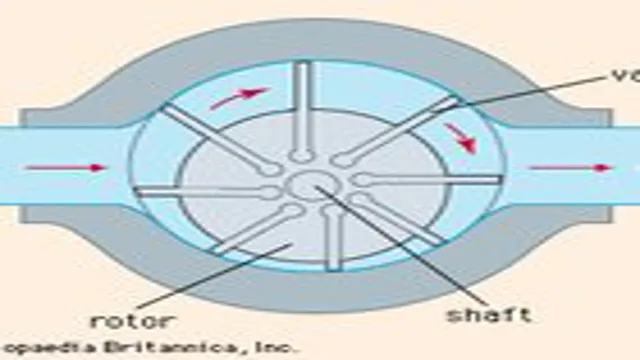
It’s also important to inspect the vanes and bearings for any signs of damage or wear. If you notice any issues with these parts, it’s best to replace them with new ones. Additionally, you should lubricate the newly installed parts before reassembling the ratchet.
Typically, manufacturers recommend using a lightweight oil to ensure smooth operation. By following this step, your newly restored air ratchet will perform at its best and last longer than ever before.
Step 4: Reassemble the Ratchet
Now that all of the parts of the air ratchet have been thoroughly cleaned and inspected, it’s time to reassemble everything. The first step is to grab the ratchet head and attach it to the handle, making sure the teeth on the two pieces align properly. Use a thread locking compound on the bolts for added security.
Next, insert the pawl and drive gear back into place, being careful to align everything correctly. Don’t forget to add a drop of oil to the pawl and drive gear before reinserting them. Finally, add the retaining ring back onto the ratchet and secure it in place with the retaining ring pliers.
Make sure everything is tightened and secure before testing the ratchet to ensure it is working properly. By following these steps, you can successfully rebuild your air ratchet, saving yourself money and the hassle of purchasing a new one.
Testing and Troubleshooting
If you’re looking to rebuild an air ratchet, it’s important to have the right tools and a good understanding of how the tool works. The first step is to disassemble the ratchet and inspect all of the components for wear or damage. Replace any parts that are worn or damaged and then reassemble the ratchet.
Make sure to lubricate all of the moving parts with a high-quality oil before using. Testing the ratchet is an important step to ensure it’s working properly. Apply light pressure to the ratchet and listen for any unusual sounds or vibrations.
If the ratchet isn’t working as it should, repeat the disassembly and inspection process to identify any issues. Troubleshooting can be a complex process, but taking the time to rebuild and test your air ratchet will ultimately save time and money in the long run. Remember, always follow the manufacturer’s instructions and wear appropriate safety gear when working with power tools.
Step 5: Testing the Ratchet
Once you have assembled your ratchet, it’s essential to test and troubleshoot it to ensure it works correctly. First, try turning the ratchet in the right direction. Remember, ratchets work in only one direction, so your efforts in the wrong direction will fail.
If it doesn’t turn, check to make sure the pawls aren’t jammed or stuck. Next, test the ratchet’s grip by attaching it to an object and tightening it. If the ratchet slips, the pawls may need cleaning or filing to get a better grip.
Make sure the teeth are clean, free from dirt and debris, and that the ratchet’s handle is secure and doesn’t come loose during use. Finally, test the ratchet’s overall strength by applying pressure to the handle. If it bends or feels too weak, disassemble the ratchet and check for any damage to the internal mechanisms.
By following these steps, you can ensure your ratchet is working correctly and ready for use whenever you need it.
Step 6: Troubleshooting Common Problems
When testing and troubleshooting your system, it’s important to be prepared for common issues that may arise. One common problem is compatibility issues between hardware and software. This can be solved by ensuring that all necessary drivers and updates are installed, and double-checking that the hardware specifications match the requirements of the software.
Another issue may be network connectivity problems, which can cause slow or intermittent internet speeds. This can usually be fixed by resetting the router or modem, or checking for any cables that may have come loose. Don’t forget to check for any error messages or alerts that may provide clues to the root of the problem.
By being prepared and knowing what to look for, you can quickly and easily troubleshoot any issues that may arise.
Conclusion
So there you have it, folks! Rebuilding an air ratchet may seem like a daunting task, but with the right tools and a little bit of elbow grease, anyone can do it. You’ll feel like a mechanic extraordinaire, saving money and keeping your trusty tool in tip-top shape. And hey, who knows, maybe you’ll even impress your friends with your newfound knowledge of air ratchet repair.
So grab your gear and don’t hesitate to give it a try, because just like any DIY project, the key is to take things one step at a time and keep a sense of humor about it all. Happy fixing!”
FAQs
What is an air ratchet and how does it work?
An air ratchet is a type of tool that uses compressed air to turn a socket and rotate a fastener. It works by utilizing a mechanism inside the tool to convert the pressure from the air into rotational motion.
What are the common causes of a malfunctioning air ratchet?
Some common causes of a malfunctioning air ratchet include lack of lubrication, damaged or worn parts, improper maintenance, and using the wrong type of socket.
How do I disassemble my air ratchet for cleaning and maintenance?
To disassemble your air ratchet for cleaning and maintenance, you will need to locate and remove the retaining ring, then carefully pull the tool apart. Be sure to keep any small parts in a safe place and clean all components thoroughly before reassembling.
Can I rebuild my air ratchet myself or do I need to take it to a professional?
Depending on the extent of the damage or wear, you may be able to rebuild your air ratchet yourself. However, if you are unsure of what parts need to be replaced or lack the necessary tools or experience, it may be best to take it to a professional for repair.
What lubricant should I use when rebuilding my air ratchet?
It is recommended to use a high-quality air tool lubricant or oil designed specifically for use in air ratchets when rebuilding your tool. Avoid using regular motor oil or other types of lubricants, as they may not provide adequate protection or may cause damage to the tool.
How often should I perform maintenance on my air ratchet?
Depending on how often you use your air ratchet, you should perform maintenance and cleaning at least once every few months. However, if you use it frequently or in dirty or dusty environments, you may need to perform maintenance more often.
What are some tips for maintaining my air ratchet and extending its lifespan?
To maintain your air ratchet and extend its lifespan, be sure to keep it clean, well-lubricated, and properly stored when not in use. Avoid using the tool for applications it is not designed for and follow all manufacturer recommendations for maintenance and repair.

