How do I Load a Caulking Gun Properly? Tips and Techniques Revealed
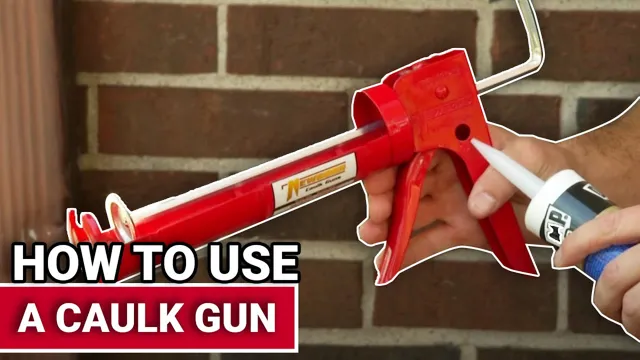
Do you have a project that requires you to use a caulking gun for the first time? Are you unsure how to load it properly? Don’t worry! It’s not as complicated as it may seem. With the right technique, you’ll be able to load your caulking gun with ease and accuracy. In this blog, we’ll walk you through the step-by-step process of loading a caulking gun, so you can complete your project like a pro! Whether you’re a seasoned DIYer or a beginner, you’ll find all the information you need to get started.
So, grab your caulking gun and let’s get started!
Gather Materials
Loading a caulking gun can be intimidating for those who have never used one before. The first step is to gather all the necessary materials, including the caulking gun and the appropriate type of caulk for the intended project. It’s important to select the correct type of caulk to ensure it will adhere properly to the surfaces being sealed.
Once the right caulk is chosen, it’s time to prep the gun. Remove the plunger by pulling back the release tab, then insert the caulk tube into the gun, making sure it’s secure. Then, reattach the plunger by pressing it firmly back in place until it clicks.
Finally, cut the tip off the caulk tube at a 45-degree angle to the desired size of the bead. And that’s it! The caulking gun is now loaded and ready to use. Remember to work in small sections and smooth the caulk with a tool or your finger before it dries for the best results.
Purchase a tube of caulk and a caulking gun.
If you’re looking to seal gaps and cracks in your home, you’ll need to gather the necessary materials to get the job done right. A tube of caulk and a caulking gun are the two primary items you’ll need to complete this DIY task. Purchasing a tube of caulk is relatively easy and can be found in any hardware or home improvement store.
There are various types of caulk available, so be sure to choose the right one for your specific project. Some types of caulk are suitable for outdoor use, while others are better suited for indoor applications. Additionally, different types of caulk are designed for different materials, such as wood, metal, and concrete.
The caulking gun is an essential tool that will help you apply the caulk with precision and control. It’s also crucial to ensure you have a steady hand when using a caulking gun to avoid making a mess or creating unattractive caulking lines. With these two tools in hand, you’ll be ready to seal up any gaps or cracks in your home and keep it free from drafts and pests.
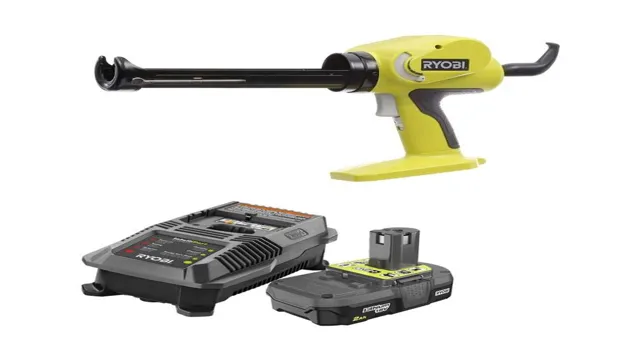
Prepare the Tube of Caulk
Loading a caulking gun may seem daunting at first, but it’s actually a pretty simple process. First, make sure the gun is in the open position and the trigger is released. Then, take your tube of caulk and cut the tip at a 45-degree angle with a utility knife or scissors.
Make sure the hole is big enough for the job, but not too big where the caulk will come out too fast. Next, place the tube into the gun, ensuring that the plunger is pushed all the way back. Then, squeeze the trigger until you see the tip of the caulk and you’re ready to go! It may take a few squeezes to get the caulk flowing, but be patient and keep trying.
With a little practice, you’ll be a pro in no time. So, don’t be afraid to tackle that DIY project or home repair – just remember these simple steps for loading your caulking gun and you’ll be good to go!
Cut off the tip of the caulk tube at a 45-degree angle with a utility knife.
Preparing the tube of caulk requires some basic steps to ensure that the application process is smooth and effective. The first step is to cut off the tip of the caulk tube at a 45-degree angle with a utility knife. This angled cut allows for the caulk to be applied in a controlled manner, allowing you to target specific areas without overshooting.
It’s important to note that the hole should not be too big or too small; a hole that is too big can cause too much caulk to be dispensed and can result in a messy application, while a hole that is too small can make it difficult to apply the caulk effectively. With the proper angle cut, you can easily adjust the flow of the caulk by how much pressure you apply to the trigger. Taking the time to prepare the tube of caulk properly will result in a smoother, more precise application and a more professional-looking finish.
Insert the Caulk Tube into the Gun
When it comes to using a caulking gun, loading it up can seem a bit tricky at first. But don’t worry, it’s actually quite straightforward once you get the hang of it. Firstly, you’ll want to remove the plastic cap from your caulk tube.
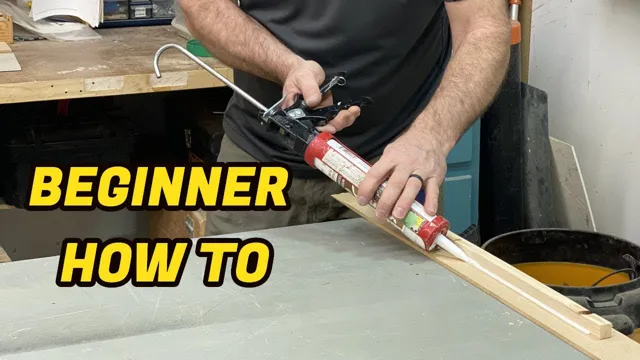
From there, take your caulking gun and pull back the plunger rod on the back until it stops. Then, insert the caulk tube into the back end of the gun, making sure that it is aligned with the plunger rod. Once it’s in place, push the plunger rod until it makes contact with the back of the caulk tube.
At this point, you’re ready to begin caulking! With the trigger mechanism engaged, simply squeeze the handle and watch as the caulk flows smoothly out of the nozzle onto your intended surface. It’s really that simple! So don’t be intimidated by loading up your caulking gun – just follow these easy steps and you’ll be a pro in no time.
Pull the release trigger and pull the metal rod back to make space for the tube.
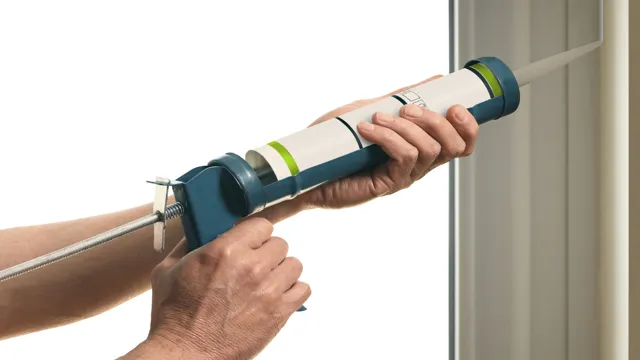
To start applying caulking to your project, the first step is to insert the caulking tube into the gun. Once you have pulled the release trigger and have made space for the tube by pulling back the metal rod, simply place the tube into the gun with the nozzle facing forward. Make sure that the tube is firmly in place and that the plunger at the back of the gun is positioned against the back of the caulking tube.
This will ensure that the pressure is evenly distributed as you squeeze the trigger to dispense the caulk. When positioning the tube, be sure that the nozzle is angled slightly. This will give you better control over the flow of the caulk and help you to apply it more smoothly.
With your caulking gun loaded and ready to go, you can start your project with confidence, knowing that you have a tool that will help you apply the caulk in a neat and efficient manner.
Insert the cut nozzle of the tube into the gun barrel and ensure that it fits snugly.
When it comes to DIY projects, using a caulking gun can be a lifesaver for achieving a clean and professional finish. So, if you’re ready to tackle your next project, you’ll need to know how to insert the caulking tube into the gun. It’s crucial to ensure that the nozzle fits snugly to prevent any air from entering the tube, which could cause issues during the application process.
To insert the tube, start by cutting the nozzle at a 45-degree angle using a utility knife. Then, place the cut nozzle into the gun barrel and push it in gently until it fits snugly. If it feels loose, you may need to trim the nozzle slightly until it fits securely.
Remember, it’s essential to take your time during this process to avoid any potential leaks or problems. Once the tube is fitted securely, you’ll be ready to start your next DIY project with confidence. By mastering the art of inserting the caulking tube into the gun, you’ll be on your way to achieving a professional finish that will impress even the most seasoned DIY enthusiast.
Secure the Tube
Loading a caulking gun can be a bit tricky, but with the right technique, it can become easier over time. Firstly, you need to ensure that the tube is compatible with your caulking gun. Once you have done that, you can open the gun by pulling the release trigger.
Next, you need to pull back on the rod to make space for the tube. Place the tube in the holder and push the rod forward until the plunger is in contact with the back of the tube. Then, squeeze the trigger a few times until the caulking material appears at the end of the nozzle.
You’re all set to go! Remember to start caulking at a slow pace and work your way up to a consistent flow. By securing the tube, you’ll have a steady and mess-free caulking experience in no time!
Push the metal rod forward and clip it into the notch at the back of the gun.
When it comes to operating a gun, one of the most important steps is securing the tube. To do this, you should push the metal rod forward and clip it into the notch at the back of the gun. This may seem like a simple task, but it is crucial for ensuring that the gun operates correctly and safely.
By securing the tube, you can prevent misfires and other dangerous malfunctions that could lead to injury or even death. So, always take the time to double-check that the tube is properly secured before using your gun. It’s better to be safe than sorry when it comes to firearms.
And remember, always follow proper gun safety procedures and handle your gun with care to avoid accidents.
Prime the Gun
If you’ve never used a caulking gun before, you might find yourself wondering how to load it properly. The first step is to “prime the gun,” which involves pulling the plunger back slightly to create suction. Next, slide the tube of caulk or adhesive into the gun so that the nozzle is at the front of the gun’s tip, then push the plunger forward until the rod touches the back of the tube.
Tighten the gun’s metal ring around the base of the tube to hold it in place, and you’re ready to start applying caulk wherever it’s needed. It’s important to note that different types of caulks and adhesives may require slightly different loading methods, so always check the manufacturer’s instructions before beginning. Practicing loading and using a caulking gun a few times can help you feel more confident in the process and ensure that your projects turn out smoothly.
Squeeze the trigger a few times until the plunger moves forward and caulk appears at the nozzle.
If you’re planning to apply caulk using a caulk gun, it’s important to prime the gun to ensure even application and prevent any air pockets. To prime the gun, start by removing the plunger and then load the caulk tube into the gun. Next, squeeze the trigger a few times until the plunger moves forward, pushing out any air and revealing the caulk at the nozzle.
Be sure to hold the gun at a 45-degree angle to prevent any excess air pockets from forming. Once you see the caulk, wipe away any excess to make sure that you have a clean, ready-to-use bead of caulk. Keep in mind that you may need to prime the gun periodically throughout your project to prevent any air bubbles from forming.
With a well-primed caulk gun and some practice, you’ll be able to achieve smooth, even lines of caulk that will help keep your home looking its best!
Conclusion
In conclusion, loading a caulking gun is no rocket science but it requires some technique and precision. It’s like filling a pastry bag with your favorite icing, you need to make sure the contents are uniformly distributed to avoid any lumps or inconsistency in its application. So, be patient, take your time, and follow the manufacturer’s instructions.
And remember, just like a baking masterpiece requires the perfect icing, a professional-grade caulking job requires a perfectly loaded gun!”
FAQs
What type of caulk can be used in a caulking gun?
Most types of caulk can be used in a caulking gun, including silicone, latex, and acrylic.
How do I load a caulking gun with a tube of caulk?
First, cut the nozzle of the tube at a 45-degree angle. Then, insert the tube into the caulking gun and push the plunger until caulk begins to come out of the nozzle.
How do I control the flow of caulk from the caulking gun?
Most caulking guns have a trigger that controls the flow of caulk. The more you squeeze the trigger, the faster the caulk will come out.
Can a caulking gun be used for other applications besides caulking?
Yes, caulking guns can be used for dispensing adhesives, sealants, and other materials.
How do I clean a caulking gun after use?
To clean a caulking gun after use, remove any remaining caulk from the nozzle and wipe the gun down with a damp cloth.

