Can You Caulk Without a Caulking Gun? Discover DIY Methods and Tips!
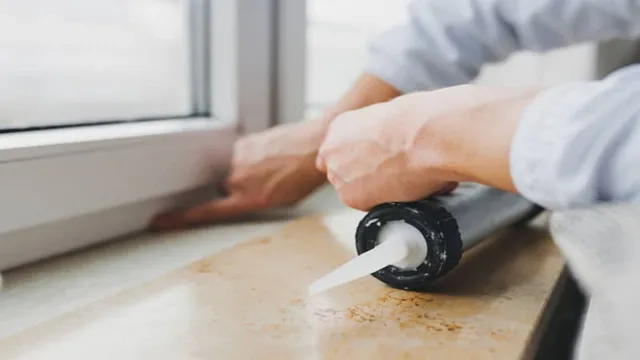
Do you have a project that requires caulking, but don’t have a caulking gun? Don’t fret! There are several methods for caulking without a gun that are easy and effective. In this blog, we’ll share tips and tricks to help you get the job done without having to purchase any extra tools. Whether you’re a seasoned DIYer or a beginner, you’ll find these techniques helpful for a variety of projects.
So, put your worries aside and let’s get to caulking!
Preparing for Caulking
If you’re planning on caulking but don’t have a caulking gun, you may be wondering if it’s even possible. The good news is that you can definitely caulk without a caulking gun. The bad news is that it can be a bit more difficult and messy than using a gun.
To prepare for caulking, make sure you have all the necessary supplies on hand, including a caulk tube, a utility knife, masking tape, and a caulk smoothing tool or your finger. First, cut the tip of the caulk tube at an angle and puncture the inner seal with the utility knife. Then, use masking tape to mark off the areas you want to caulk and apply a steady, even pressure to dispense the caulk.
Once you have the caulk in place, use your smoothing tool or finger to smooth it out and remove any excess. While caulking without a gun isn’t ideal, it’s definitely doable with a little extra effort and attention to detail.
Choose a Suitable Caulk
When it comes to caulking, selecting the right caulk for your project is crucial. With so many caulks on the market, it can be challenging to know which one is suitable for you. But don’t worry, with a little research, you can find the perfect caulk for your project.
First, decide whether you need a silicone-based or latex-based caulk. If you’re caulking around a bathtub or sink, a silicone-based caulk would be ideal as it’s waterproof. On the other hand, if you’re caulking baseboards or windows, a latex-based caulk would suffice.
Secondly, pay attention to the caulk’s cure time. Some caulks can take up to 24 hours to cure, while others only take a few hours. Finally, consider the color of the caulk.
You want to choose a color that complements your project and blends in nicely. With these points in mind, you can select the perfect caulk for your project and begin your preparation.
Collect the Necessary Tools
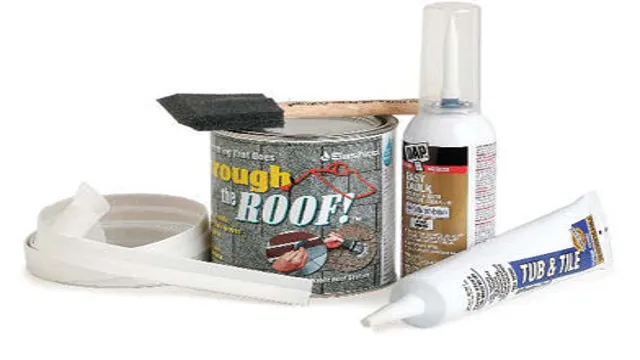
If you’re preparing to caulk, one of the first steps is to gather all the necessary tools you’ll need. This includes a caulking gun, a tube of caulk, a putty knife or scraper, and gloves. Be sure to choose a caulking gun that fits comfortably in your hand and is easy to use.
When selecting a tube of caulk, consider the material you’ll be working with and the size of the job you’re undertaking. A putty knife or scraper will come in handy for smoothing out the caulk and removing any excess. And don’t forget to protect your hands with gloves, especially if you’ll be working with caulk that contains harmful chemicals.
With these tools at the ready, you’ll be well-positioned to tackle your caulking project with confidence.
Caulking the Area
Caulking is an essential part of home maintenance and renovation. Most people believe that you need to have a caulking gun to do the job right, but the truth is you can caulk without one. Using a caulking gun might be a bit easier and quicker, but it is not entirely necessary.
If you don’t have a caulking gun, there are alternative tools such as a putty knife, a flathead screwdriver, or even a popsicle stick that you can use. In terms of the caulk material, you can use either silicone or latex-based caulk, depending on the area you’re caulking. Before starting, make sure the area is clean and dry.
Apply the caulk by pressing it out of the tube with the tool you’ve chosen to use, and be sure to apply enough to fill the entire gap. You can then use a damp finger or a caulk smoothing tool to smooth it out for an even finish. Although not having a caulking gun may make the job more tedious, it is still possible to get the job done effectively.
Load the Caulk Tube
Caulking a surface can seem like a daunting task, but with the right tools and approach, it can be a relatively simple process. One of the first steps in caulking an area is to load the caulk tube. To do this, start by cutting the tip of the tube at a 45-degree angle with a utility knife.
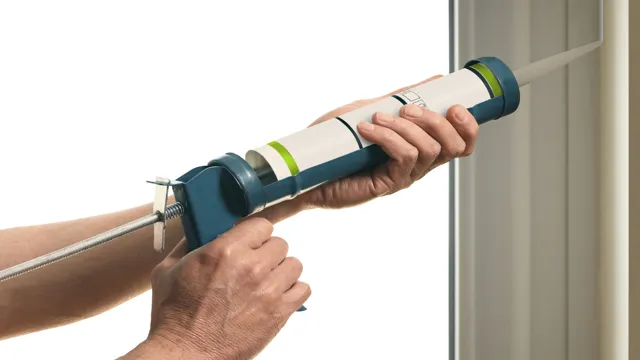
Make sure the hole is the size you need, depending on the size of the space you’re filling. Squeeze the trigger of the caulk gun gently to start the flow of the caulk and apply slow, steady pressure to fill the space. Remember to keep the gun at a 45-degree angle to ensure even application.
Beware of over-filling the space as this can lead to waste or difficult cleanup. With a steady hand and a proper technique, caulking can be a quick and efficient way to seal gaps or joints, and protect your home from water and air damage. Don’t be afraid to practice and experiment with different methods to find what works best for your needs.
Apply the Caulk
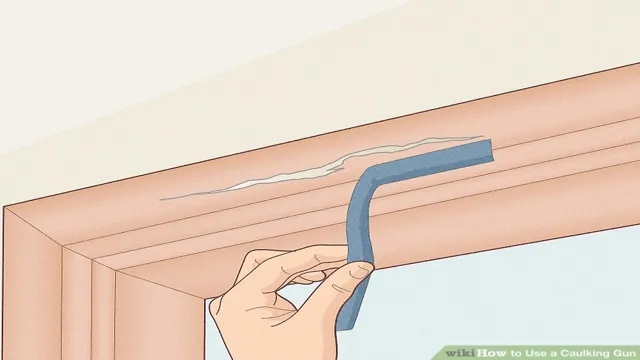
Applying caulk is an essential step in sealing gaps and cracks around windows, doors, and walls. Before applying the caulk, ensure that the surfaces are clean and free of dust, debris, and old caulk. Use a caulk gun to apply a smooth and consistent bead of caulk along the gap.
Start from one end and move towards the other end. Use a caulk smoothing tool or your finger to smoothen the surface and push the caulk deep into the gap. Repeat the process until all gaps are filled.
Be sure to use the right type of caulk for different surfaces and weather conditions. Applying caulk is a simple job that can be done by anyone with the right tools. With a little practice, you can achieve a professional-looking finish that will last for years.
So, go ahead and seal those gaps and cracks to save money on energy bills and prevent water damage to your home.
Smooth the Caulk
When it comes to caulking an area, one important step that you shouldn’t miss is smoothing out the caulk. This is essential to ensure that the caulk adheres properly, and it also makes it look more attractive. To smooth the caulk, you’ll need to use your finger or a caulk smoothing tool.
If you’re using your fingers, make sure that they’re clean and dry. Run your finger along the caulk line, pushing it gently into the gap and smoothing it out. You can also use a caulk smoothing tool to achieve a neat finish, ensuring that the caulk is evenly distributed and properly adhering to the surface.
By taking the time to smooth out the caulk, you’re not only ensuring a tight seal, but you’re also leaving a clean finish that will look great for years to come. So, don’t skip this important step when caulking an area around your home.
Alternative Caulking Methods
Yes, you can absolutely caulk without a caulking gun! While a caulking gun is a helpful tool for dispensing caulk with precision, it is not always necessary. One alternative method is to use a caulk tube and simply cut the tip to the desired size before squeezing the caulk out by hand. This may take a bit more practice to get the hang of, but it can be just as effective as using a gun.
Another method is to use a putty knife or butter knife to apply the caulk, gently smoothing it into place. This may be a bit more time-consuming, but it can be useful for smaller projects or hard-to-reach areas. Whichever method you choose, just be sure to apply the caulk evenly and wipe away any excess before it dries.
With a little patience and practice, you can achieve professional-looking results even without a caulking gun.
Finger Caulking
Caulking is an essential task for any homeowner or DIY enthusiast, as it helps to prevent leaks and drafts in windows, doors, and other areas around the home. However, traditional caulking methods can be messy and time-consuming, which is why many people are turning to finger caulking as an alternative. This method involves using your finger to smooth out and shape the caulk, ensuring a neat and tidy finish.
While it may take a bit of practice to master, finger caulking can produce excellent results and is much quicker than using a caulking gun. Plus, it allows you to get into hard-to-reach areas and fill in small gaps with precision. So if you’re looking for an efficient and effective way to seal up your home, give finger caulking a try – you might be surprised at how easy it is!
Squeeze Tube Caulking
Squeeze tube caulking is a game-changer when it comes to sealing gaps and cracks in your home. While traditional caulking methods require a caulking gun, squeeze tube caulking can be easily applied by hand. This makes it a great alternative option for those who find caulking guns difficult to manage.
Squeeze tube caulking also offers a quick and easy cleanup – simply squeeze out the amount you need, seal the tube, and store for future use. Plus, it comes in a variety of colors to match the aesthetic of your home. So, if you’re looking for an efficient and hassle-free way to seal up those pesky gaps and cracks, squeeze tube caulking may just be the answer you’ve been looking for.
Final Thoughts
Yes, you can caulk without a caulking gun. While a caulking gun may make the job easier and more efficient, it is not always necessary. If you do not have access to a caulking gun, you can simply use your finger or a putty knife to apply the caulk to the desired area.
Before application, make sure the surface you are applying the caulk to is clean and dry to ensure a smooth and durable finish. Applying caulk without a caulking gun may require more time and effort, but it is still possible to achieve a professional-quality result. So, don’t let the lack of a caulking gun discourage you from tackling your next DIY project!
Conclusion
In conclusion, while a caulking gun may be a convenient tool to have on hand, it is not a necessity for sealing up gaps and cracks in your home. With a little bit of creativity and resourcefulness, you can easily makeshift a caulking gun using items like a syringe, a plastic bag, or even just your fingers. So go ahead, put on your DIY hat and get caulking – no gun required!”
FAQs
What are the alternative tools for caulking without a caulking gun?
You can use a spoon, popsicle stick, or even your finger as an alternative tool for caulking without a caulking gun.
How do you prepare the surface before caulking without a caulking gun?
You need to clean the surface thoroughly and let it dry completely before caulking without a caulking gun.
Can you use any type of caulk for caulking without a caulking gun?
Yes, you can use any type of caulk for caulking without a caulking gun as long as it’s compatible with the surface and application.
What are the common mistakes to avoid when caulking without a caulking gun?
Some common mistakes to avoid when caulking without a caulking gun are using too much caulk, not smoothing it out properly, and not cleaning the surface beforehand.
How long does caulk take to dry when applied without a caulking gun?
The drying time of caulk applied without a caulking gun depends on various factors such as humidity, temperature, and the type of caulk used. Generally, it takes around 24 hours to dry completely.
Can you achieve a professional-looking finish when caulking without a caulking gun?
Yes, with proper techniques and tools, you can achieve a professional-looking finish when caulking without a caulking gun.
Is it necessary to wear gloves when caulking without a caulking gun?
It’s not necessary but recommended to wear gloves when caulking without a caulking gun to protect your hands from the caulk and to make it easier to clean up afterwards.

