When to Use Orbital Sander: Tips and Tricks for Achieving Smooth Finish

As a DIY enthusiast, you’ve probably asked yourself, “When should I use an orbital sander?” Whether you’re an experienced woodworker or just starting, knowing when to use this versatile tool is crucial. Orbital sanders are commonly used to smooth out surfaces, removing old finishes and preparing them for painting or staining. But, with so many types of sanders available, choosing the right one for the job can be overwhelming.
In this comprehensive guide, we’ll help you understand when to use an orbital sander and when to choose other sanders. Think of us as your sanding GPS! So, sit back, relax, and let’s explore the wonderful world of sanding!
What is an Orbital Sander?
An orbital sander is a power tool used for sanding and finishing surfaces. It works by rotating a sanding disc in small circles, giving a random orbit pattern to provide an even finish without leaving swirls or scratches. When it comes to sanding large, flat surfaces like doors or tabletops, an orbital sander is the ideal power tool for the job.
It’s also great for sanding intricate curves or rounded edges. An orbital sander is an essential tool for any woodworker or DIY enthusiast who wants to achieve a professional-looking finish on their projects. So the next time you have a sanding project, remember to reach for your trusty orbital sander for optimal results.
Overview of Orbital Sanders
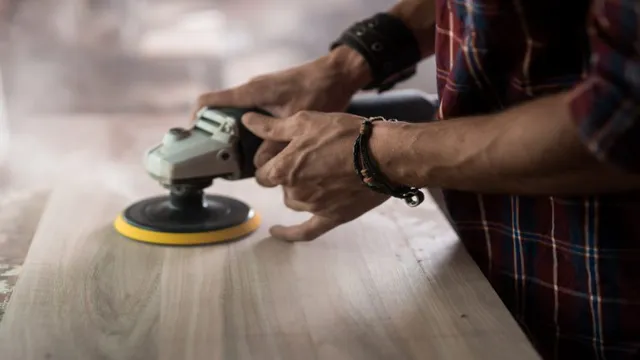
An orbital sander is a power tool that is commonly used in woodworking and furniture making. It is a versatile tool that can be used for both rough sanding and fine finishing. The orbital sander is designed to move in small circular motions, which allows it to sand the surface evenly without leaving any swirl marks.
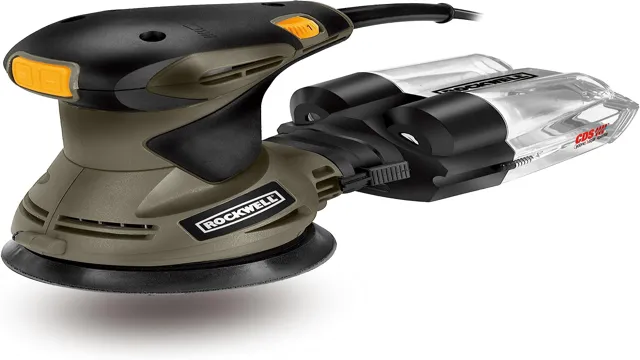
It is also equipped with a dust collection system, which helps to keep the work area clean. The orbital sander is available in different sizes, and the size of the sanding pad determines the amount of surface area that can be sanded at once. This tool is a great addition to any woodworking shop, as it can save a lot of time and effort when sanding down wood material.
By using an orbital sander, one can achieve a smooth and professional-looking finish on any wood surface.
Types of Orbital Sanders
Orbital Sanders are power tools used to smooth surfaces by sanding them in a circular motion. These sanders come in two types – handheld and benchtop – and are highly versatile and efficient, making them a popular choice among DIY enthusiasts and professional contractors alike. Handheld orbital sanders are smaller and easier to maneuver, making them ideal for sanding tight spaces and hard-to-reach areas.
Benchtop orbital sanders, on the other hand, are more powerful and sturdy, making them more suitable for heavy-duty sanding applications, such as sanding large pieces of wood or metal. Whether you need to refinish your kitchen cabinets, sand down a tabletop, or prepare surfaces for painting, there is an orbital sander out there that can get the job done quickly and effectively. With the right type of orbital sander at your disposal, you can achieve a professional finish on all your projects with ease.
When to Use an Orbital Sander?
If you’re looking to sand large, flat surfaces, such as tabletops, decks, or floors, an orbital sander is the perfect tool for you. This sander is designed to make quick work of sanding large surfaces, as it creates a random, sanding motion that prevents any swirls or scratches on the material. It’s also ideal for sanding hardwoods, where a smooth finish is critical.
However, the orbital sander may not be the best tool for rough, intricate work, such as shaping or detailing a piece of wood. In these instances, a belt sander or detail sander will likely be a better choice. Additionally, if you are dealing with a small area or tight space, using an orbital sander may not be practical or possible.
Bottom line: if you have a large, flat surface that needs sanding, an orbital sander is the tool for you!
Sanding Large Areas: Floors, Walls, and Ceilings
Using an orbital sander on large areas such as floors, walls, and ceilings can save you a lot of time and effort. An orbital sander is an excellent choice for these areas because of its round sanding pad that rotates and vibrates in small circles, creating a consistent finish. It is also much easier to control than other types of sanders.
One factor to consider when deciding whether to use an orbital sander is the size of the area you are sanding. For larger areas, an orbital sander is the best option as it covers a broader area in a shorter time. Additionally, an orbital sander works best on flat surfaces such as walls and floors, but with the right attachments, it is also suitable for sanding ceilings.
To achieve the best results and avoid any damage, ensure that you select the right grit sandpaper for the job. A medium grit sandpaper works best for floor sanding, while fine grit is preferable for walls and ceilings. With an orbital sander, you can quickly and efficiently sand large areas, leaving a professional-looking finish.
Sanding Flat Surfaces: Tables, Countertops, and Cabinets
When it comes to sanding flat surfaces like tables, countertops, and cabinets, an orbital sander can be an excellent choice. But when should you use an orbital sander? An orbital sander is a great option for smoothing large, flat surfaces or removing paint or coatings. It uses a circular motion to create an even sanding pattern, which helps prevent uneven spots and gouging.
If you’re working on a large project with flat surfaces like a table, an orbital sander can save you time and energy. However, it’s important to keep in mind that an orbital sander may not be the best choice for more delicate or intricate work. In those cases, a hand-held sander might be a better option.
Ultimately, the best sander for your project will depend on the specific surfaces you’re working with and the results you’re hoping to achieve.
Sanding Curved Surfaces: Furniture, Doors, and Moldings
When it comes to sanding curved surfaces like furniture, doors, and moldings, an orbital sander can be a great tool to have. But when should you use one? An orbital sander is perfect for smoothing out rough surfaces and getting rid of scratches. Unlike a belt sander, it won’t leave any marks or swirls on the wood.
Additionally, the round sanding pad of an orbital sander makes it perfect for curved and contoured surfaces, as it can easily reach all the nooks and crannies. If you’re working on a project with a lot of intricate details, an orbital sander can save you a lot of time and effort, and give you a smooth, even finish. So, whether you’re refinishing an old chair or sanding down a doorframe, an orbital sander can be a valuable addition to your toolkit.
Just remember to use the appropriate grit sandpaper for your project and to take your time to get the best results.
How to Use an Orbital Sander?
When it comes to sanding, there are different types of sanders available, each designed for different tasks. One of the most popular types of sanders is the orbital sander. But when exactly should you be using an orbital sander? Well, an orbital sander is perfect for sanding large, flat surfaces such as tables, countertops, and floors.
The unique circular motion of the pad helps to avoid leaving any marks or scratches on the surface. It’s also great for creating a smooth finish on wood, plastic, and metal. You can use different grits of sandpaper with an orbital sander, from coarse to fine, depending on the job at hand.
So, if you’re planning on refinishing your furniture or tackling a big DIY project that involves sanding large areas, an orbital sander is definitely the way to go. It will save you time, energy, and effort, and give you a professional-looking finish.
Selecting the Right Sandpaper Grit
If you’re looking to perfect your woodworking skills, knowing how to properly use an orbital sander is a must. Before you get started, it’s important to select the right sandpaper grit for the job. Coarse grits will remove material quickly, but leave behind deep scratches that require finer grits to smooth out.
Finer grits, on the other hand, are perfect for final finishing, but won’t remove material as quickly. When you’ve chosen the right grit, attach it securely to your orbital sander and hold it firmly against the wood surface, moving it in the direction of the grain. It’s important to keep the sander moving, never let it sit in one spot for too long, or you’ll end up with uneven surfaces.
Always wear protective goggles, a mask, and earplugs to protect yourself from the dust and noise of the job. With a bit of practice and patience, using an orbital sander can be a breeze.
Preparing the Surface for Sanding
When it comes to using an orbital sander, the first step is to properly prepare the surface you’ll be sanding. This means removing any old or flaking paint or varnish, and ensuring the area is clean and free of debris. Once the surface is ready, it’s time to fire up the orbital sander.
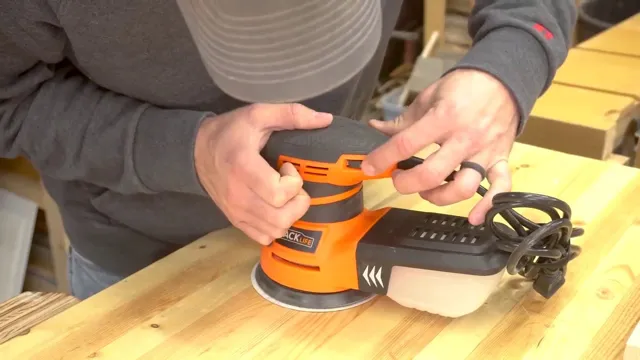
Make sure you have the correct grit sandpaper installed on the sander. Start with a lower grit paper if the surface has a lot of roughness or damage, and work your way up to higher grits for a smoother finish. Hold the sander with both hands and use a circular motion to sand the area, making sure you don’t apply too much pressure.
Keep the sander moving and don’t stay in one spot for too long to avoid creating tire tracks or bumps in the surface. Finally, wipe down the area with a tack cloth to remove any remaining dust before staining or painting. With this method, you’ll be able to use an orbital sander to achieve a smooth and professional-looking finish effortlessly.
Using the Orbital Sander
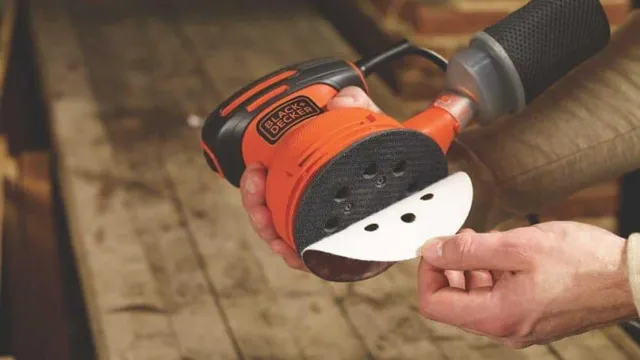
Using an orbital sander is a simple and effective way to smooth out surfaces and achieve a flawless finish. The process involves attaching sandpaper discs to the bottom of the tool and moving it in circular or back-and-forth motions over the surface you wish to sand. It’s important to choose the right grit level of sandpaper for your project, from coarser grit for rougher surfaces to finer grit for a smooth finish.
You should also wear safety gear such as a dust mask and goggles to protect yourself from the dust and debris. Always keep the sander moving and avoid applying too much pressure to prevent uneven sanding. With practice, you can master the technique and use it for a variety of DIY projects.
So why not give it a try and see the amazing results for yourself?
Conclusion: Is an Orbital Sander Right for Your Project?
In summary, an orbital sander is the ultimate tool for achieving a smooth and flawless finish on your woodworking projects. Whether you’re sanding large surfaces, removing old paint, or smoothing out intricate details, an orbital sander is the go-to option that won’t disappoint. So the next time you want to take your DIY game to the next level, reach for your trusty orbital sander and let it do the heavy lifting while you sit back and admire the results.
“
FAQs
What is an orbital sander used for?
An orbital sander is typically used to sand and smooth surfaces, such as wood, metal, or plastic.
How does an orbital sander differ from other types of sanders?
An orbital sander differs from other types of sanders in that it operates in a circular (orbital) motion, which results in a more random sanding pattern.
When should I use an orbital sander versus a belt sander?
You should use an orbital sander for lighter sanding tasks and when you need a finer finish. A belt sander is better for heavier sanding tasks, such as sanding rough lumber.
Can I use an orbital sander on metal surfaces?
Yes, you can use an orbital sander on metal surfaces. However, you should use a sandpaper with a grit appropriate for metal, and take care not to sand off any protective coatings or finishes.
How important is dust collection when using an orbital sander?
Dust collection is important when using an orbital sander, as it can create a significant amount of dust and debris. Using a dust collection attachment or working in a well-ventilated area can help reduce the amount of dust.
Can I use an orbital sander to remove paint or varnish?
Yes, an orbital sander can be used to remove paint or varnish. You should use a coarse-grit sandpaper to remove the majority of the material, and then switch to a finer-grit sandpaper to smooth out the surface.
How do I choose the right grit sandpaper for my orbital sander?
The grit of sandpaper you choose depends on the task at hand. For heavier sanding tasks, use a lower grit sandpaper (e.g. 60 grit), while for lighter sanding and smoothing tasks, use a higher grit sandpaper (e.g. 220 grit).

