How to Use Dewalt Oscillating Multi Tool: 5 Expert Tips for Effortless Cutting and Sanding

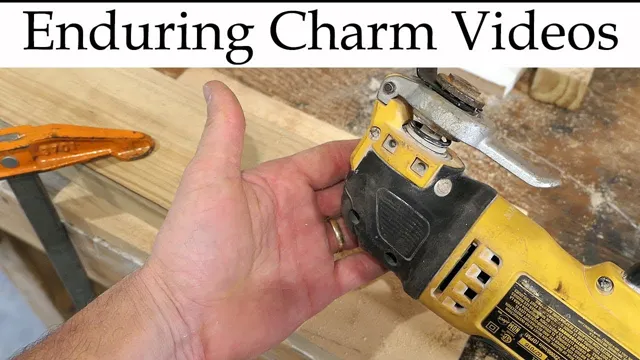
If you’re a DIY enthusiast like myself, you know how hard it can be to find the right power tool for a particular job. However, one tool that you’ll never regret having is a Dewalt oscillating multi-tool. It’s a versatile all-in-one tool that can sand, cut, and scrape with ease.
If you’re new to this tool, you might wonder how best to use it. Fortunately, we’re here to help. In this blog post, we’ll show you how to use your Dewalt oscillating multi-tool.
We’ll walk you through the parts of the tool, how to set it up, and how to use it effectively for all your DIY projects. By the end of this post, you’ll be a pro at handling a Dewalt oscillating multi-tool and will be able to tackle any task with the confidence of a DIY expert. Are you ready to get started? Let’s dive in!
Introduction
If you’re new to tools or just acquired a dewalt oscillating multi-tool, you might feel a little overwhelmed by all the functions and attachments. But fear not, it’s actually quite easy to use once you get the hang of it. The first thing you should do is familiarize yourself with the attachments and the purpose of each one.
Then, insert the attachment you need by slipping it onto the tool and securing it with the clamp. Once you turn on the tool, you can start making your cuts or sanding with ease. Just be sure to adjust the speed and pressure as needed for each specific project.
With a little practice, you’ll soon find that the dewalt oscillating multi-tool is a versatile and invaluable addition to your toolkit.
What is an Oscillating Multi-Tool?
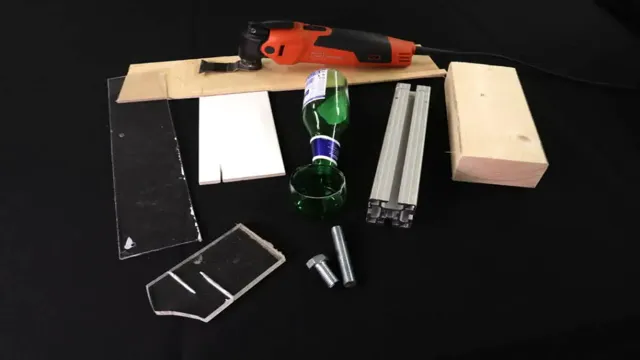
An oscillating multi-tool is a versatile power tool that can handle a wide variety of cutting, sanding, scraping, and grinding tasks. With an oscillating motion that moves the blade or attachment back and forth at high speed, these tools can make precise cuts in tight spaces and tackle various materials without causing damage. Unlike other power tools that only perform one specific function, oscillating multi-tools come with interchangeable accessories that you can swap out depending on the task at hand.
From removing grout to sanding wood to cutting through metal pipes, an oscillating multi-tool is an indispensable addition to any DIY enthusiast’s toolkit. Plus, its compact size and maneuverability make it easy to use even in cramped quarters. Overall, an oscillating multi-tool is a must-have for any homeowner or professional contractor looking to get the job done efficiently and effectively.

Step by Step Guide
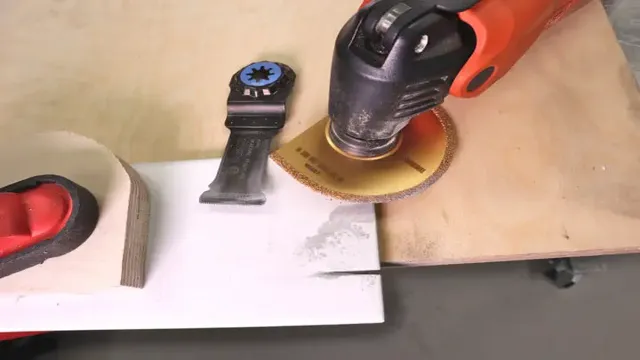
If you’re new to using a Dewalt oscillating multi-tool, it can be a little overwhelming at first. But with a little practice and these simple steps, you’ll be using it like a pro in no time! First, make sure you have the right attachment for the job at hand. Dewalt offers a variety of options, from sanding pads to cutting blades and everything in between.
Next, adjust the speed setting to the appropriate level for the material you’ll be working with. Lower speeds are best for delicate materials, while higher speeds are better for tough cuts. Once you’re ready to start, hold the tool with a firm grip and turn it on.
Let the tool do the work, applying gentle pressure and guiding it along the surface you’re working on. And that’s it! With a little practice, you’ll be using your Dewalt oscillating multi-tool with ease and getting great results every time.
Step 1: Assemble the Tool
Are you ready to put together your very own tool? Let’s get started with step 1: assembling the tool! First, gather all the necessary materials and lay them out in front of you. This may include a wrench, screwdrivers, pliers, and any other tools you may need depending on the specific project. It’s important to double-check that you have all the tools needed before starting to assemble.
Once you have all your tools, it’s time to begin the assembly process. Take it one step at a time and follow the instructions carefully. Make sure to tighten all bolts and screws securely to ensure the tool is safe to use.
Completing this first step is crucial to ensure the rest of the assembly process goes smoothly. By following these simple steps, you’ll be well on your way to completing the perfect tool for your project!
Step 2: Choose the Right Accessory
Choosing the right accessory is an essential aspect of any outfit, whether it is for a special occasion or a casual day out. The right accessory can elevate your look and make you stand out in a crowd. It is important to choose an accessory that complements your outfit rather than overshadows it.
For instance, if you are wearing a bold patterned dress, it is best to opt for simple accessories that do not clash with the dress. On the other hand, if you are wearing a simple solid-colored dress, you can experiment with bolder and statement accessories such as bold earrings, necklaces, or bracelets. By ensuring that your accessory choice complements your outfit, you can create a cohesive and stylish look effortlessly.
Remember, the key is to strike a balance between your outfit and accessory choices to achieve a perfectly put-together look.
Step 3: Power On the Tool
When it comes to operating a power tool, safety should be your top priority. Before powering on the tool, you should make sure that it is set up correctly, and all necessary adjustments have been made. Start by reviewing the user manual and familiarizing yourself with the tool.
Then, plug it in and press the power button to turn it on. Before you start using the tool, make sure you have the right safety equipment. Wear safety glasses or goggles, gloves, and ear protection if necessary.
It’s critical to follow the manufacturer’s instructions for operating the tool correctly. Remember to never operate a power tool that is damaged or has missing parts. Always use a power tool that is in good working condition and is appropriate for the job at hand.
By following these simple steps, you can ensure that you are operating your power tool safely and correctly.
Step 4: Use the Tool
Now that you’ve selected your tool to help with your marketing efforts, it’s time to put it to use! The following step-by-step guide will help you navigate and utilize your tool effectively. Step 1: Familiarize yourself with the dashboard and menu options. Take some time to explore and get comfortable with the layout of the tool.
Step 2: Set up your project or campaign. This will include entering the necessary information, such as keywords or target audience demographics. Step 3: Customize your settings and preferences.
Consider options such as frequency of alerts or notifications, report formats, and integrations with other tools. Step 4: Conduct your analysis or automation. Utilize the various features of the tool to analyze data, schedule social media posts, or send email campaigns.
Step 5: Review and adjust as necessary. Regularly check in on your results and adjust your strategy as needed based on the insights provided by the tool. Remember, the tool is only as effective as you make it.
Take the time to truly understand and utilize its capabilities to see the best results. Happy marketing!
Step 5: Change Accessories
When it comes to changing your accessories, it’s important to consider the occasion and the overall look you want to achieve. A statement necklace or earrings can instantly elevate a plain outfit, while a simple belt or scarf can add a touch of sophistication to a casual look. Accessories also provide a great opportunity to showcase your personal style, so don’t be afraid to mix and match different textures, colors, and patterns.
If you’re going for a more bohemian vibe, opt for fringe bags and tassels, while a more minimalist look can be achieved with sleek, modern pieces. When it comes to shoes, a pair of statement heels or flats can take an outfit from day to night, while sandals and sneakers provide a more laid-back feel. The key is to have fun with your accessories and experiment with different combinations until you find the perfect match for your outfit and your mood.
And remember, accessories are the final touch, so choose wisely and make sure they enhance your overall look.
Tips and Tricks
If you own a DeWalt oscillating multi-tool, you know just how versatile and handy it can be. However, if you’re new to using one, you may be wondering how to get the most out of this powerful tool. To start, make sure you have the right blade or attachment for the job.
DeWalt offers a wide variety of accessories, including sanding pads, scraper blades, and cutting blades for wood, metal, and other materials. Next, it’s important to choose the right speed for the job at hand. Higher speeds are better for cutting and sanding, while lower speeds are better for delicate tasks like scraping or detail work.
When using the tool, be sure to keep it level and apply even pressure to avoid gouging or damaging the workpiece. With a little practice, you’ll soon be using your DeWalt oscillating multi-tool like a pro.
Tip 1: Always Wear Protective Gear
When it comes to staying safe while riding or working with powered equipment like motorcycles, ATVs, or chainsaws, the most important thing you can do is wear the right protective gear. This means investing in a sturdy helmet that fits well, as well as gloves, boots, and a jacket or vest that are designed to protect you in case of an accident. It may not be the most comfortable or stylish choice, but it could mean the difference between a minor scrape and a life-threatening injury.
Plus, wearing protective gear shows that you take your safety seriously, which can help set a good example for others. So don’t skimp on safety – make sure you always wear the right gear and encourage others to do the same. Remember, you only have one life, so it’s important to take care of yourself!
Tip 2: Start with a Low Speed and Work Your Way up
When it comes to using power tools, it’s important to remember that they can be dangerous if not used properly. One important tip to keep in mind is to start with a low speed and work your way up. This applies to a variety of tools, from drills to sanders to saws.
Starting at a low speed allows you to get a feel for the tool and how it operates, while also giving you more control. As you become more comfortable, you can gradually increase the speed to achieve the desired result. Not only does this approach make the tool easier to handle, but it can also help prevent accidents and injuries.
So, next time you’re using a power tool, remember to start slow and work your way up to ensure a safe and successful project.
Tip 3: Let the Tool Do the Work for You
When it comes to digital marketing, time is always of the essence. With so many tasks to do, it can be overwhelming to think about how to get them all done effectively and efficiently. One of the best tips we can offer is to let the tool do the work for you.
From social media to email campaigns, there are hundreds of tools available to help you automate your marketing processes and save you time. For example, if you want to schedule your social media posts, there are tools like Hootsuite and Buffer that can help you do that. Instead of wasting time logging into multiple accounts and trying to post content manually, you can use these tools to schedule posts in advance and ensure that your content is published at the optimal time.
So why not take advantage of these valuable tools and get more time back in your day to focus on other important aspects of your business?
Conclusion
So now you know how to use your DeWalt oscillating multi-tool like a pro! With its versatile range of attachments and accessories, this innovative tool can tackle a variety of jobs around the house or on the job site. From trimming door jambs to scraping paint or cutting drywall, the DeWalt oscillating multi-tool can handle just about anything you throw at it. Plus, its ergonomic design and easy-to-use controls make it a breeze to operate.
So go ahead, tackle that DIY project with confidence and ease – and don’t forget to show off your handy skills to your friends and family (they’ll be impressed, trust us).”
FAQs
What kind of attachments can be used with the DeWalt oscillating multi tool?
The DeWalt oscillating multi tool can be used with a variety of attachments, including sanding pads, cutting blades, grout removal tools, and more.
How can I change the attachment on my DeWalt oscillating multi tool?
To change the attachment on your DeWalt oscillating multi tool, simply release the quick change lever, remove the old attachment, and snap the new attachment in place.
Can the DeWalt oscillating multi tool be used for precision cutting?
Yes, the DeWalt oscillating multi tool can be used for precise cutting tasks, thanks to its variable speed control and range of cutting blades.
Is it safe to use the DeWalt oscillating multi tool on delicate surfaces?
Yes, the DeWalt oscillating multi tool can be used safely on delicate surfaces, such as wood or drywall, as long as you select the appropriate attachment and use the tool with care.
How do I maintain my DeWalt oscillating multi tool?
To keep your DeWalt oscillating multi tool in good working order, be sure to clean the tool and attachments after each use, lubricate moving parts as needed, and store the tool in a dry, protected place.
What kind of warranty does the DeWalt oscillating multi tool come with?
The DeWalt oscillating multi tool comes with a 3-year limited warranty, which covers defects in materials and workmanship.
Can the DeWalt oscillating multi tool be used for sanding large surfaces?
Yes, the DeWalt oscillating multi tool can be used for sanding large surfaces, thanks to its range of sanding pads and variable speed control. However, for very large surfaces, a dedicated sanding tool may be more efficient.

