How to Use Adjustable Wrenches: A Comprehensive Guide for Beginners
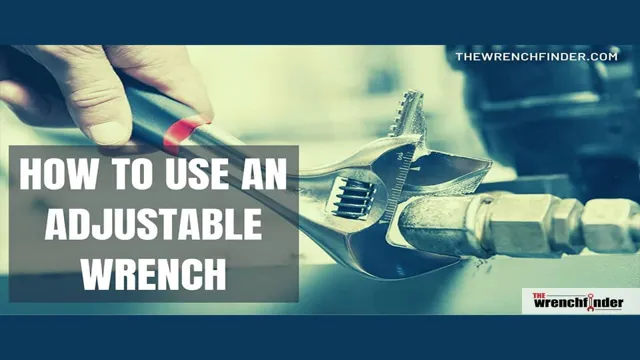
An adjustable wrench is a versatile tool that can come in handy when you need to loosen or tighten a bolt or nut. But if you’re not familiar with how to use it, it can be quite confusing. Don’t worry, though – with a little bit of practice and some helpful tips, you’ll be able to wield an adjustable wrench like a pro in no time.
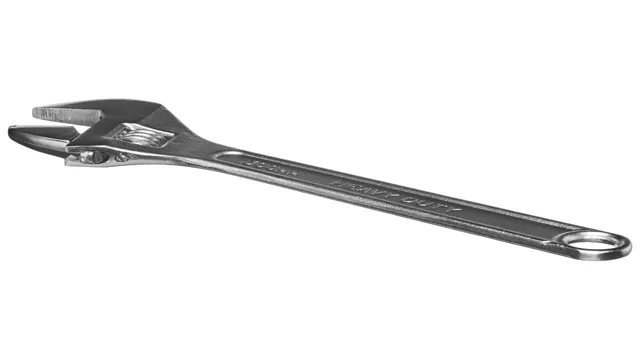
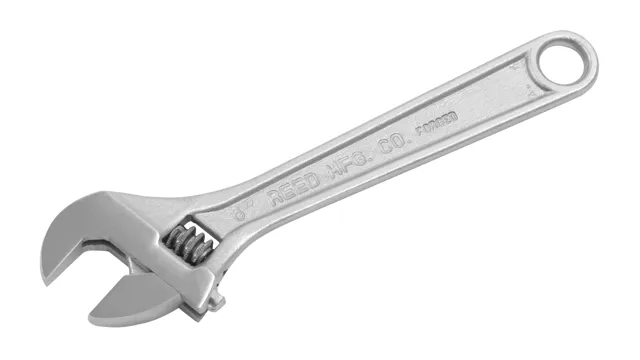
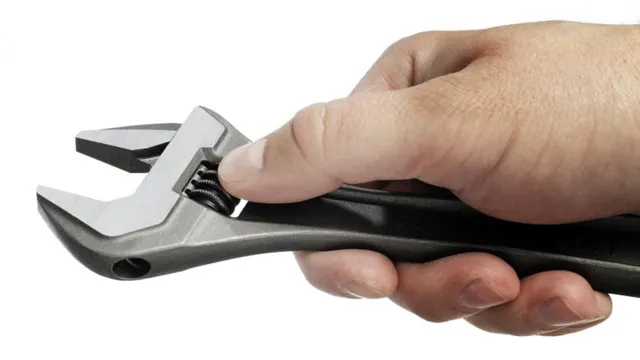
First of all, it’s important to understand the basic anatomy of an adjustable wrench. It consists of a movable lower jaw and a fixed upper jaw, which are connected by a worm gear that allows you to adjust the width of the jaws to fit different sizes of nuts and bolts. The jaws are typically serrated to provide a better grip.
To use an adjustable wrench, start by selecting the appropriate size for the job at hand. Turn the worm gear until the jaws are wide enough to fit over the nut or bolt you’re working on, but not so wide that they’re loose. Then, position the wrench so that the jaws are securely gripping the flat sides of the nut or bolt, rather than the corners.
Now comes the tricky part – actually applying torque to the nut or bolt. It’s important to position the wrench so that you’re pulling in the correct direction, which is usually counterclockwise to loosen and clockwise to tighten. Use your dominant hand to turn the adjustable wrench, while using your non-dominant hand to stabilize the handle and prevent it from slipping.
One thing to keep in mind is that adjustable wrenches can be prone to slipping if they’re not used properly. Make sure that the jaws are securely gripping the nut or bolt, and avoid using excessive force that could cause the wrench to slip and potentially injure yourself or damage the workpiece. With a little bit of practice, you’ll be able to use an adjustable wrench confidently and effectively for all of your DIY projects.
So don’t be intimidated – pick one up, give it a try, and discover the many uses of this versatile tool.
What is an Adjustable Wrench?
If you’re a budding DIY enthusiast or someone who frequently fixes things around the house, learning how to use an adjustable wrench is an essential skill. An adjustable wrench, also known as a crescent wrench, is a versatile tool used for gripping and turning nuts and bolts in varying sizes. Its design allows you to adjust the width of the jaws to fit the size of the fastener, making it suitable for a wide range of applications.
To use an adjustable wrench, first, determine the size of the nut or bolt you need to turn. Then, adjust the jaws of the wrench to fit the fastener tightly. Remember to keep the jaws perpendicular to the handle to prevent slipping.
Finally, apply force to the wrench in the direction you need to turn the fastener. With practice, you’ll become comfortable using an adjustable wrench and find it to be a useful tool in your toolbox. So the next time you need to tighten or loosen a bolt or nut, reach for your adjustable wrench and get the job done.
Definition and Parts
An adjustable wrench, also known as a crescent wrench, is a versatile hand tool that can be used for tightening or loosening nuts and bolts of different sizes. It is named “adjustable” because of its unique design, enabling it to fit various sizes of nuts and bolts. The jaw of the wrench can be adjusted by moving the movable jaw along the worm gear, which is threaded to the non-adjustable jaw.
This adjustment allows the tool to be tightened securely onto the nut, providing a better grip and ultimately making it easier to turn. The wrench’s handle is designed to provide enough leverage to apply strong torque, increasing efficiency and reducing the amount of effort required. An adjustable wrench has become an indispensable tool in many households and workplaces, making it a must-have for any DIY enthusiast.
Types of Adjustable Wrenches
An adjustable wrench is a versatile tool that is used to grip and turn nuts, bolts, and other objects with a flat surface. The defining feature of an adjustable wrench is its adjustable jaw which can be opened or closed to fit different sizes of nuts and bolts. This feature makes adjustable wrenches a must-have tool for any toolbox as they save space and reduce the number of tools needed.
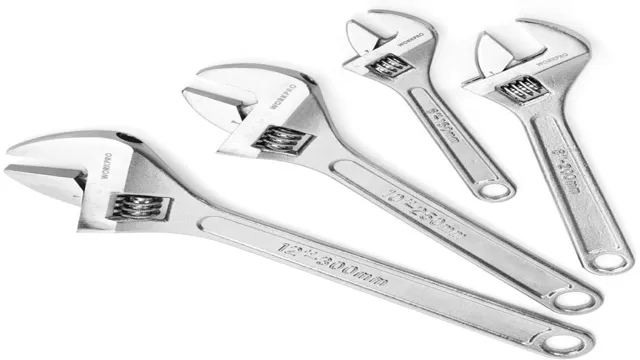
There are different types of adjustable wrenches available in the market today. The most common type is the crescent wrench, which has a curved jaw that is adjustable using a slide mechanism. There are also pipe wrenches, which have serrated teeth that grip and turn pipes, and adjustable t-handle wrenches, which provide more torque due to their longer handle.
Overall, an adjustable wrench is an essential tool for any handyman or DIY enthusiast as it saves time and effort.
Steps to Using an Adjustable Wrench
If you need to loosen or tighten a bolt or nut, an adjustable wrench is a handy tool to have. But if you’re not familiar with how to use an adjustable wrench, it can be confusing at first. First, adjust the wrench to the correct size by sliding the jaw opening to match the size of the bolt or nut you’re working on.
Then, grip the bolt or nut with the wrench and turn it in the desired direction. Be sure to apply even pressure, as uneven pressure can strip or damage the bolt. If you’re having trouble getting a good grip, try holding the wrench at a different angle or applying more force.
With a bit of practice, using an adjustable wrench can become a simple and straightforward process to tackle a variety of tasks around your home or workplace.
Step 1: Choose the Correct Size
Adjustable Wrench One of the most common tools found in a toolbox is the adjustable wrench. This versatile tool can be used to tighten or loosen nuts and bolts of varying sizes, saving you time and money. Before using an adjustable wrench, it’s crucial to choose the correct size for the job.
Using an incorrectly sized wrench can damage the nut or bolt you are working on, making the situation worse instead of better. To choose the right size, simply match the jaw size to the size of the nut or bolt. It’s important to note that an adjustable wrench may not be suitable for extremely tight or rusted nuts and bolts, and in those cases, specialized tools may be required.
By following this simple step of choosing the correct size, you can confidently begin using your adjustable wrench for a variety of household or DIY tasks.
Step 2: Open the Jaws of the Wrench
When using an adjustable wrench, it’s important to know the proper steps to ensure a safe and effective experience. The second step to using an adjustable wrench is to open the jaws of the wrench. To do this, simply turn the adjuster knob until the jaws are opened up wide enough to fit around the nut or bolt you’ll be working with.
It’s important to make sure the jaws fit snugly around the nut or bolt to prevent slipping or stripping. Once the jaws are in place, you’re ready to apply the necessary pressure to tighten or loosen the nut or bolt. Remember to always use caution and follow proper safety guidelines when using any type of tool.
With the right technique and a little practice, using an adjustable wrench can be a breeze. So, next time you find yourself needing to tighten or loosen a nut or bolt, grab your trusty adjustable wrench and get to work!
Step 3: Place the Wrench on the Nut or Bolt
After adjusting the wrench to the proper size, the next step is to place the wrench on the nut or bolt that needs tightening or loosening. It’s important to ensure that the wrench is snugly placed on the nut or bolt to avoid slipping, which could strip the edges and make it challenging to remove or tighten. Place the wrench over the nut or bolt so that the jaws of the wrench grip it tightly.
It’s crucial to hold the wrench at a 90-degree angle to the nut or bolt to avoid any slippage. While placing the wrench on the nut or bolt, ensure that you are not placing your hand anywhere in between the jaws of the wrench, especially when tightening or loosening. Remember, safety always comes first, and it’s paramount to make sure you are using the correct tool and following proper procedures to get the job done efficiently.
Step 4: Tighten the Wrench and Turn
Adjustable Wrench Now that you have positioned the adjustable wrench properly, it’s time to move on to the next crucial step – tightening the wrench and turning. At this point, you must double-check the jaw placement to make sure it’s tightly secured over the nut or bolt. This precautionary measure will prevent the wrench from slipping or dislodging during the operation, which can cause serious injuries and damage to the workpiece.
Once you have verified the jaw placement, it’s time to commence tightening by applying force in a clockwise direction. Remember to avoid over-tightening, as it can lead to the bolt or nut’s deformation or damage. Always use just enough force to get the job done without causing harm.
Keep a firm grip on the handle and turn the wrench slowly and steadily until the target bolt or nut loosens or tightens appropriately. With all these steps’s successful execution, you can now be sure of achieving the desired result irrespective of the nature of your DIY task.
Tips for Using an Adjustable Wrench
If you’re wondering how to use an adjustable wrench, you’re not alone. This versatile tool can be used for a variety of tasks, from tightening nuts and bolts to plumbing and automotive work. To get the most out of your adjustable wrench, there are a few tips to keep in mind.
First, make sure you select the right size wrench for the job. A wrench that’s too small won’t provide the leverage you need, while one that’s too large may slip or damage the nut or bolt you’re working with. Once you’ve got the right size, adjust the wrench to fit snugly around the nut or bolt, making sure it’s not too loose or too tight.
Finally, use a firm, steady grip to turn the wrench, being careful not to over-tighten or strip the bolt. With these simple tips, you’ll be able to use an adjustable wrench with confidence and precision.
Proper Grip and Leverage
An adjustable wrench is a versatile tool, but it’s essential to use it correctly. One of the crucial factors to consider is the proper grip and leverage. When using an adjustable wrench, make sure you grip the handle firmly.
You should use the palm of your hand, not just your fingers, to grip the wrench. By using your palm, you can exert more pressure and get a better grip. Additionally, make sure you position the wrench so that you have the correct leverage.
You want to place the wrench at a right angle to the bolt or nut you’re trying to turn. This way, you’ll get the maximum amount of torque and be able to turn the bolt or nut more easily. Remember, by using the right grip and leverage, you can ensure the adjustable wrench works effectively and make your job easier.
Avoiding Damage to Nuts and Bolts
One major concern when working with nuts and bolts is avoiding damage to the hardware. Using an adjustable wrench, or spanner, can be an effective way to ensure that the fasteners remain intact throughout the project. However, it’s important to use proper techniques to avoid causing damage.
One tip is to make sure the adjustable wrench is correctly sized for the nut or bolt being turned. If the wrench is too small or too large, it can slip and damage the fastener. Additionally, it’s important to apply force evenly when turning the wrench, rather than putting excessive pressure on one side.
This can help avoid rounding the corners of the nut or bolt, which can make it difficult to turn or even lead to the hardware becoming damaged beyond repair. By following these tips, DIY enthusiasts and professionals alike can use adjustable wrenches effectively and avoid causing damage to nuts and bolts.
Conclusion
And there you have it, folks! Now you know how to use an adjustable wrench with ease. As versatile as it is reliable, this tool will become your go-to for any job that requires a tight grip. Whether you use it to turn bolts, adjust nuts, or just show off your DIY skills to your friends, always remember to use the right size and handle it with care.
With a little practice and a bit of elbow grease, you’ll be a pro in no time. So grab your adjustable wrench and get ready to tackle your next project with confidence and style!”
FAQs
What is an adjustable wrench used for?
An adjustable wrench is a versatile tool that can be used for tightening or loosening nuts and bolts of varying sizes. It can also be used for plumbing and automotive repairs.
How do I adjust the size of an adjustable wrench?
To adjust the size of an adjustable wrench, you will need to slide the movable jaw towards or away from the fixed jaw until it fits snugly around the nut or bolt you want to tighten or loosen.
What are the common mistakes to avoid while using an adjustable wrench?
Some common mistakes to avoid while using an adjustable wrench include using it on rounded or stripped bolts, using excessive force, and using it as a hammer. These mistakes can damage the wrench or the equipment being worked on.
Can an adjustable wrench be used on plumbing fittings?
Yes, an adjustable wrench can be used on plumbing fittings, but care should be taken to avoid over-tightening which may cause the fitting to break or leak.
What are the different types of adjustable wrenches available in the market?
The different types of adjustable wrenches include the crescent wrench, monkey wrench, pipe wrench, and basin wrench. Each type is designed for specific uses and varies in size and shape.
How do I maintain my adjustable wrench?
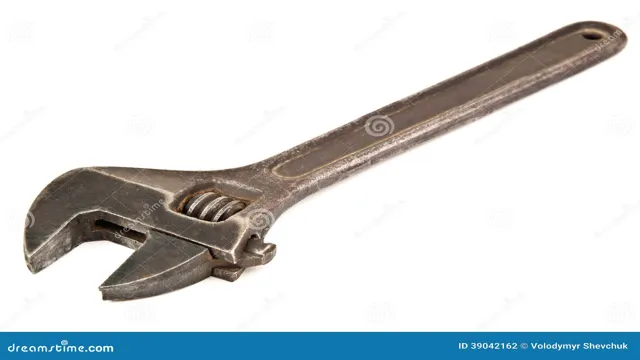
To maintain your adjustable wrench, you should keep it clean and dry after use, lubricate the moving parts, and store it in a dry place. If the wrench becomes rusty, it can be treated with a rust remover and a wire brush.
Can I use an adjustable wrench instead of a socket wrench?
While an adjustable wrench can be used in place of a socket wrench, it may not be as effective in providing the necessary torque required for certain jobs. Socket wrenches are designed to provide a more secure and efficient grip on nuts and bolts of different sizes.

