How to Rent a Floor Sander: A Complete Guide for First-Timers
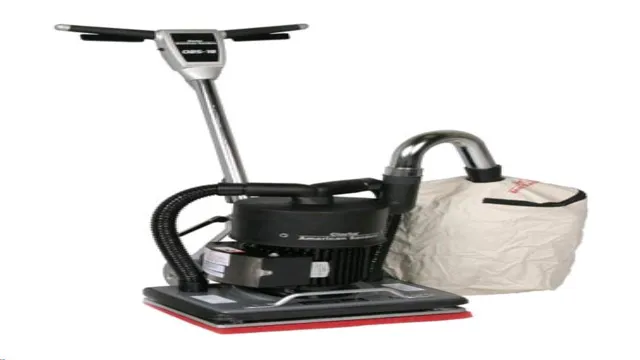
Planning to give your hardwood floors a facelift? Renting a floor sander is the perfect solution for restoring the natural beauty of your floors without breaking the bank. But if you’re a DIY novice, the idea of renting and operating a hefty piece of equipment may seem daunting. Fear not! In this post, we’ll guide you through everything you need to know about renting a floor sander so you can confidently take on your flooring project and achieve professional-looking results.
From selecting the right type of sander for your flooring needs to choosing the grit of sandpaper for the job, we’ve got you covered. Let’s dive in!
Determine the Type of Floor Sander You Need
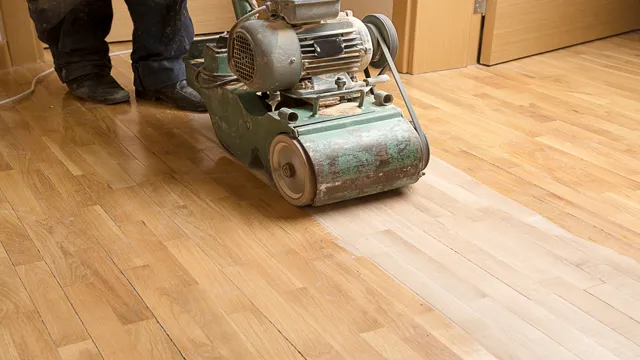
If you’re planning to rent a floor sander, the first thing you need to determine is the type of sander you need. There are two main types of floor sanders: drum sanders and orbital sanders. Drum sanders are ideal for larger areas or heavily damaged floors, while orbital sanders are better suited for buffing or sanding small areas and for floors that require less intensive sanding.
Additionally, you need to consider the size of the sander you need. Most sanders come in either 12 or 18 inches, and the larger the sander, the faster you’ll be able to sand the floor. Another factor to consider is the grit size of the sandpaper.
The lower the number, the rougher the grit, meaning it will remove more material, while the higher the number, the smoother the grit, meaning it will remove less material. By considering these factors, you’ll be able to determine the type of floor sander you need to rent for your project.
Assess the Type of Flooring
When it comes to sanding floors, determining the type of floor sander you need can be crucial to achieving the desired outcome. Before you rent or purchase a sander, it’s important to assess the type of flooring in your home. If you have hardwood floors, you’ll need a different sander than if you have a softer wood, like pine.
You’ll also want to take into consideration any finishes or coatings that may already be on the floor. This will affect the type of sander you need and the grit of sandpaper you should use. Choosing the wrong sander or sandpaper can result in damaging your floors, costing you more money and time in the long run.
Therefore, it’s important to do your research or consult with a professional to ensure you select the right sander for your floors.
Research the Different Types of Sanders
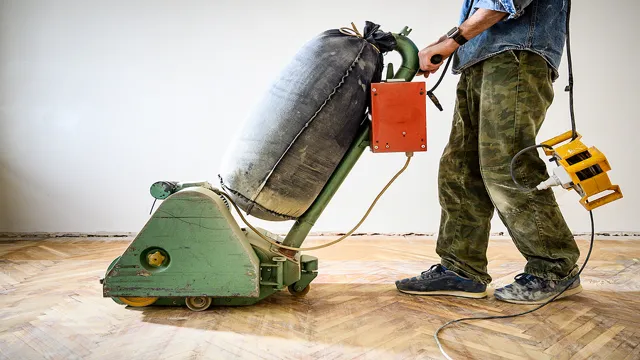
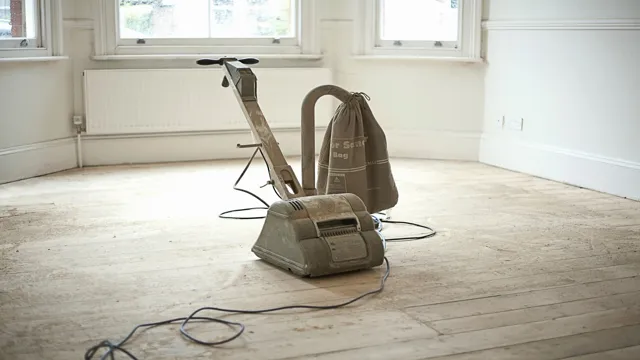
When it comes to sanding your hardwood floors, it can be overwhelming to determine the type of sander you need. So, it’s essential to research the different types of sanders to make an informed decision that will save you time and money. One type of floor sander that you may encounter is the drum or belt sander, which is a highly powerful tool ideal for removing surface finishes or flatten uneven floors.
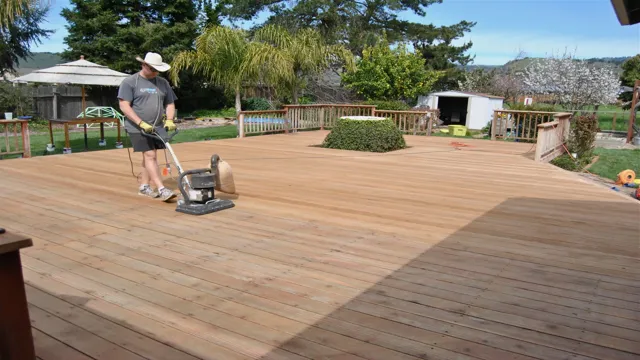
Another type of sander is the orbital sander, which utilizes a round sanding disk and is best suited for detailed work such as sanding corners or intricate designs. The edge sander is a third type of sander that is perfect for reaching tight areas, corners, and edges that larger sanders cannot reach. Additionally, there’s the square buff sander that uses a square pad and is ideal for lighter sandings, such as buffing or refinishing.
When considering what type of sander to use, look at the size of your floor, the condition of the hardwood, and your desired results. In conclusion, by understanding the different types of sanders and their uses, you’ll be able to determine which one works best for your floor.
Choose a Rental Store
If you’re looking to rent a floor sander, it’s important to choose the right rental store to ensure a successful DIY project. Start by researching local rental stores and reading reviews online to get an idea of which ones have a good reputation and offer quality equipment. Consider the types of sanders available and whether they will work for your specific project, as well as the rental rates and any deposit requirements.
It’s also important to ask about maintenance and repair policies in case the equipment malfunctions while in your possession. By taking the time to find a reputable rental store with the right equipment and policies, you’ll be able to tackle your flooring project with confidence.
Check Availability
When looking to rent equipment or tools, the first step is choosing a rental store that suits your needs. It’s important to consider factors such as location, availability, and price when making your decision. Do some research to find local rental stores in your area and read reviews from past customers to get an idea of their reputation.
Some stores may specialize in certain types of equipment, so make sure to choose one that can provide the specific tools you need. Once you have narrowed down your options, it’s a good idea to contact the store to check availability and confirm pricing. Don’t be afraid to ask questions or request recommendations if you’re unsure about which equipment to rent.
Remember, choosing the right rental store can make all the difference in the success of your project.
Compare Prices and Reviews
When it comes to choosing a rental store, it’s important to compare prices and read reviews from other customers. Doing so can save you both time and money, as well as give you peace of mind knowing that you’re renting from a reputable business. Start by researching the rental stores in your area and comparing their rental prices for the item you need.
Don’t forget to factor in additional fees like insurance and deposits, as these can quickly add up. Once you’ve narrowed down your options, take a look at the reviews from other customers. These can give you valuable insights into the rental process, the quality of the equipment, and the customer service you can expect to receive.
Choosing the right rental store can make all the difference in your rental experience, so take the time to do your research and select a store that meets your needs and budget.
Rent the Floor Sander
If you’re looking to tackle a DIY floor refinishing project, renting a floor sander can be a great way to save money while achieving professional results. However, before you head to your local home improvement store to rent a floor sander, there are a few things you should keep in mind. First, make sure you know what type of sander you need.
Drum sanders are best for large, flat surfaces like an entire wood floor, while orbital sanders are better for smaller, detailed areas. Next, make sure you have the proper safety gear, including ear protection, dust masks, and safety glasses. Finally, be prepared to invest some time into the sanding process – it can be physically demanding, but the end result is worth it.
By following these simple steps and renting the right sander for your project, you can achieve a beautiful, professional-looking finish on your floors.
Prepare for Pickup
Renting a floor sander can be a great way to prepare your floors for pickup. Not only will it save you money compared to hiring a professional, but it will also give you complete control over the sanding process. First, you’ll want to decide on what type of sander is best for the job, such as a drum or orbital sander.
Once you’ve made your choice, you can visit your local home improvement store to rent the machine. Make sure to stick to the instructions provided and take your time to avoid any damage to the floor. Remember, a floor sander can be a powerful and potentially dangerous tool, so be sure to wear protective gear and take all necessary precautions to keep yourself safe.
By renting a floor sander and taking the time to prepare your floors properly, you’ll be one step closer to a successful pickup experience.
Read the Rental Agreement
If you’re planning to rent a floor sander for your home renovation project, it’s essential to read the rental agreement beforehand. The rental agreement will outline all the terms and conditions, including the rental period, rental fees, and any additional charges. You’ll also need to look out for the equipment’s condition and warranty details to ensure you’re not held liable for any damages.
It’s crucial to understand the agreement to avoid any surprise charges or misunderstandings. Additionally, you should thoroughly inspect the equipment before leaving the rental store and notify the staff of any pre-existing damages. By doing so, you’ll ensure a smooth rental experience and a successful flooring renovation project.
Remember, renting a floor sander can save you money, but it’s crucial to be informed to make the most of the experience.
Provide Identification and Payment
Renting a floor sander is a great way to tackle your home renovation projects, but before you can take one home, you’ll need to provide some identification and payment. Most rental companies will require a valid driver’s license or government-issued ID to confirm your identity, and some may also ask for a credit card to hold as collateral. It’s important to read the rental agreement carefully to understand the terms and conditions, including any fees for late returns or damaged equipment.
Once you’ve provided all the necessary information, you can take the floor sander home and get to work on refinishing your floors. Just remember to follow safety guidelines and use protective equipment, such as goggles and earplugs, while using the equipment. With a little elbow grease and determination, you can achieve professional-looking results without breaking the bank.
So, are you ready to take on your next DIY project with a rented floor sander?
Use the Floor Sander
If you have a flooring project coming up, you may be wondering how to rent a floor sander. Renting a floor sander can save you money and time compared to hiring a professional or buying your own. Once you’ve found a rental location, be sure to ask plenty of questions about the different types of sanders available, how to use them, and what kind of results you can expect.
One of the most important things to keep in mind when using a floor sander is to start with the correct grit sandpaper for your particular type of flooring. Typically, you will want to start with a coarse grit and work your way up to a finer grit to achieve a smooth finish. Additionally, it’s important to wear protective gear and take care when operating the sander, as it can be quite loud and powerful.
With a little bit of preparation and care, renting a floor sander can be a great way to achieve professional-looking results on your own.
Read the Instruction Manual
If you’ve never used a floor sander before, the first step should always be reading the instruction manual. Even if you consider yourself a DIY pro, there may be specific safety precautions or operating procedures unique to the particular floor sander you’re using. Understanding the machine’s features and limitations can prevent accidents or damage to your floors.
Additionally, most manuals will provide tips for achieving the desired finish and troubleshoot potential issues you may encounter. Don’t be tempted to skip over this step – taking the time to educate yourself on the floor sander’s operation can save time and money in the long run. When it comes to using a floor sander, being prepared is key to a successful project.
Wear Safety Gear
When using a floor sander for any DIY project, it’s imperative to prioritize safety. That means wearing the proper protective gear at all times, like gloves, eye protection, and a mask to prevent dust inhalation. The last thing you want is to end up with wood dust in your eyes or breathing it in, as it can cause serious health issues.
Not only is it important to wear safety gear, but taking breaks in between sanding sessions is also highly recommended. Constantly using a floor sander can lead to hand fatigue, which can result in hazardous accidents. By taking small breaks, you can recover some of your physical endurance and reduce the risk of hurting yourself while sanding.
It’s crucial to remember that safety always comes first, even when working on DIY projects around the house. By taking all the necessary precautions, you can protect yourself and enjoy the project at the same time. So, remember to always wear your protective gear and take periodic breaks when using a floor sander for your DIY woodworking projects.
Return the Floor Sander
Renting a floor sander can be a wise decision for those who want to refinish their floor but don’t want to invest in an expensive tool they’ll only use once. If you’re wondering how to rent a floor sander, the process is generally straightforward. First, determine the type of sander appropriate for your needs, with drum sanders being ideal for larger areas and orbital sanders for smaller ones.
Once you know the type of sander you require, do some research to find home improvement stores or rental companies in your area that offer the tool. When you arrive at the store, ask the staff for assistance and any advice they may have on how to use the sander. And don’t forget to organize a convenient return time and location, so that you can complete your project and return the sander without hassle.
Just remember, while renting a floor sander may seem like an affordable solution, be cautious of potential damage and possible extra fees involved in the rental process. So, be sure to take your time, use the equipment carefully and return it in the same condition you received it to avoid any unwelcome surprises.
Clean the Sander
After completing your hardwood floor refinishing project, it’s important to properly return the floor sander and clean it for future use. First, remove any remaining sandpaper from the drum and discard it. Next, use a scraper or putty knife to scrape off any buildup on the sander’s drum or wheels.
Then, wipe down the entire sander with a cloth, making sure to remove any dust or debris. Take a closer look at the sanding drum and wheels and check for any damages or wear and tear. If necessary, replace any damaged parts before returning the sander.
Finally, return the sander to its proper storage area and make sure it’s securely in place. By properly cleaning and maintaining your floor sander, you’ll ensure it’s ready for your next hardwood flooring project.
Return the Sander on Time
“Returning Floor Sander on Time” Renting out a floor sander can be a great option for individuals looking to give their flooring a new look without the expense of replacing it altogether. However, it’s important to keep in mind the importance of returning the sander on time. Not only will this ensure that other customers have access to the equipment, but it can also save you from incurring additional fees.
Late charges can quickly add up and create an unnecessary financial burden. It’s essential to plan ahead and ensure you have enough time to complete your project before the rental period expires. If you’re unsure about how much time you’ll need, consider renting the equipment for an additional day or two to give yourself some flexibility.
Overall, returning the floor sander on time is a simple but crucial step in making the most of your rental experience.
Get Receipt and Return Policy Information
If you need to return your floor sander, it’s important to have the proper information about the store’s return and receipt policies. When purchasing your floor sander, make sure to keep your receipt in a safe and easily accessible place. Many stores have a specific time frame in which you can return items, so be sure to check the policy in advance.
If you’re not satisfied with your purchase or the quality of your product, don’t hesitate to reach out to the store’s customer service team for assistance. They may be able to help you find a solution or provide a refund or exchange. By being proactive and aware of the return policy, you can make your return process go smoothly.
Remember, it’s always better to be prepared!
Conclusion
Renting a floor sander may seem daunting, but by following the tips and tricks outlined above, it can be a smooth and easy experience. From selecting the appropriate sander to securing the necessary safety gear, renting a floor sander is all about meticulous planning and attention to detail. So next time you decide to tackle that home renovation project, remember that renting a floor sander is just a few clicks and steps away.
And as they say, with great power (and a sander), comes great responsibility (to create the perfect flooring). Happy sanding!”
FAQs
What is a floor sander and why should I rent one?
A floor sander is a powerful tool used to sand and refinish hardwood floors. Renting one is often more cost-effective than hiring a professional, and gives you control over the refinishing process.
How do I choose the right type of floor sander to rent?
The type of sander you need will depend on the size of your project, the type of wood flooring you have, and your skill level. Research the different types of sanders available and consult with the rental company for recommendations.
Can I rent a floor sander if I’ve never used one before?
Yes, you can! Many rental companies offer tutorials or classes on how to use their equipment. Alternatively, you may want to hire an experienced contractor to do the job for you.
What safety precautions should I take when renting a floor sander?
Always wear protective gear, including goggles, gloves, and a dust mask. Make sure the sander is properly maintained and avoid letting the machine get too hot. Lastly, be aware of the power cord and keep it away from the sanding area.
How much does it cost to rent a floor sander?
Rental costs vary depending on the type of sander and the length of rental time. Prices typically range from $50 to $150 per day.
Do I need to prep my floors before sanding them?
Yes, it’s important to prepare the floors by removing any furniture or rugs, cleaning the surface, and filling any large cracks or holes. This will ensure that the sander can work properly and produce a smooth finish.
What type of sandpaper should I use with my floor sander?
The type of sandpaper you need will depend on the type of sander you are using and the condition of your floors. Consult with the rental company for recommendations or do research to find the right grit and type of sandpaper for your project.

